OAuth2 Google Service
![]() Diese Seite ist noch nicht vollständig übersetzt.
Diese Seite ist noch nicht vollständig übersetzt.
Neue Funktionalität
in Moodle 3.3!
Einen OAuth2 Client in Google aufsetzen
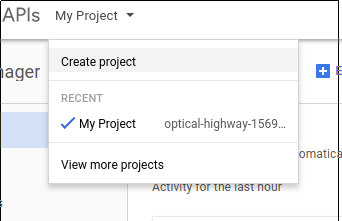
Um einen OAuth2 Client in Google aufzusetzen, müssen Sie sich als erstes in der Google Developers Console anmelden und ein neues Projekt anlegen.
- Verwenden Sie dazu das Menü oben auf der Seite.
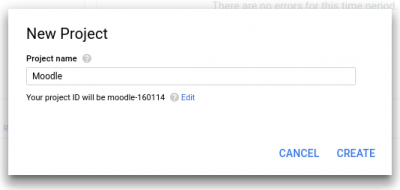
- Geben Sie dem Projekt einen beliebigen Namen. Der Name wird bei der Anmeldung nirgends angezeigt.
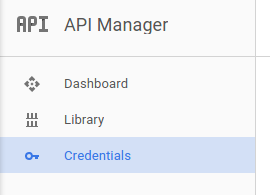
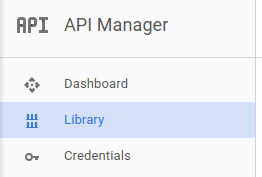
- Im Menü auf der linken Seite wählen Sie die Option Credentials" aus.
Setup the consent screen for your application. This is where you provide the public information that is shown to users when they are asked to authorise your application. Setting a product name is the minimum information that is required, but the more information you provide here - the more confidence users will have when granting this authorisation.
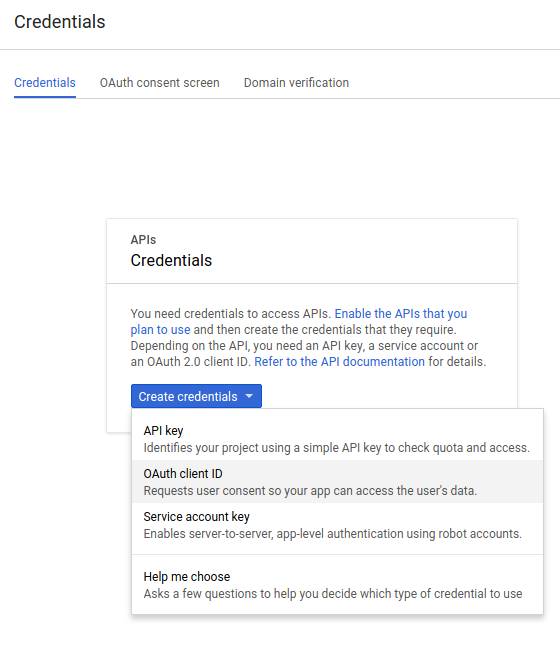
Now you can create some client credentials. Switch to the credentials tab and create a new OAuth client ID.
Setup the credentials for a Web Application. The most important setting here is to set the callback URL. This must be set to "your moodle site url + /admin/oauth2callback.php". If your moodle site was accessible at https://lemon.edu/ then this callback URL should be set to https://lemon.edu/admin/oauth2callback.php.
When you have saved the information on this page, Google will give you the client ID and client secret that you need to enter into Moodle.
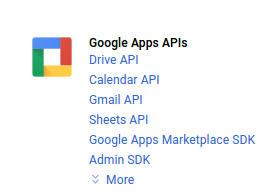
Finally we have to enable the Drive API (if we want to use the google drive repository or file converter plugins).
Siehe auch
- Google Drive Repository
- OAuth2 Authentifizierung - ermöglicht es Nutzer/innen, sich mit ihrem Google-Nutzerkonto in Moodle anzumelden
