Video
- Video is a very powerful tool to use in a Moodle course, allowing students, for example to catch up on lectures they missed, learn from a "how to" screencast, or improve their language skills by watching native speakers interact.
- For a discussion on the best type of video file for Moodle, see here
- For a discussion of the best programs for creating screencasts, see here
Where to host the videos
- Whenever possible, it is preferable to upload your videos to Moodle, storing them on your own server as you retain ultimate control. However, when server space or upload limits are restricted, it is convenient to upload videos to an online site like youtube [1] or Vimeo[2]. They can easily be embedded inside Moodle from such sites and privacy can still be maintained if you choose their private video sharing option.
Cross domain video hosting
Flash video players require permission to play videos hosted on a different URL, e.g. yourmoodle.org needs permission to play video files hosted at yourvideo.org. The permission files are stored on the root domain of where the video files are hosted, e.g. yourvideos.org/crossdomain.xml. If yourvideos.org does not have a cross domain policy file that permits yourmoodle.org to play videos, Flash Player will not permit it. Further details are available here [3].
Many public video hosting services, such as YouTube.com, already have catch-all cross domain policy files in place and so videos can be played from them via your Moodle without any cross domain security issues arising.
Ways of displaying video
Linking to a video online elsewhere
- If your video is hosted elsewhere online (such as youtube) you can simply link to the relevant page by choosing Add a resource>URL and pasting in the relevant link.
- For more information, see URL
- Note that, in an establishment where certain video sharing sites might be banned, your students might not be able to access your video through Moodle.
Uploading a video for students to download
- Choose this option if you wish to upload your video to Moodle and give users the option to download it to their own computers.
- Choose Add an activity or resource>File
- For more information, see File
- Note that the way the video will display depends on the software the user has on their own computer. This could mean that some students might be unable to view your video. (See this discussion here)
Embedding a video in its own player
- Moodle has an inbuilt video player called Flowplayer. If the multimedia plugins filter is enabled by the administrator, videos embedded into the text editor will play inline in Flowplayer.
- Anywhere that Moodle's text editor is available, it is possible to embed a video, for example in a label or a page, a course topic summary, a quiz description or a lesson.
- One exception seems to be MP4 files. They don't seem to play in Flowplayer unless hacked. See discussion here: http://moodle.org/mod/forum/discuss.php?d=208849
Using the Moodle media icon
- With your editing turned on, click into the HTML editor where you wish to embed your video.
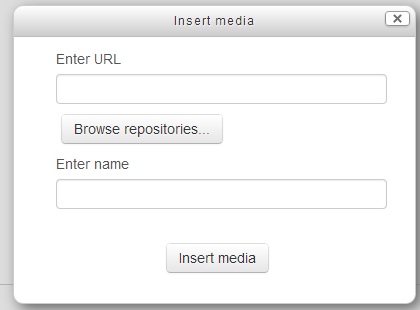
- Click the Moodle media icon as in the following screenshot:
- Click Browse repositories
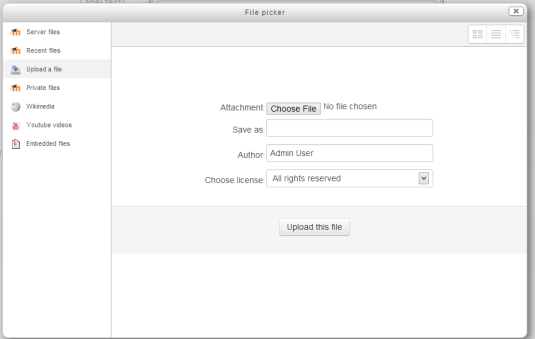
- The file picker will appear:
- Either click Upload a file to upload from your computer or choose the appropriate repository from which you wish to bring in your video. (What you see will depend on what the Moodle admin has enabled)
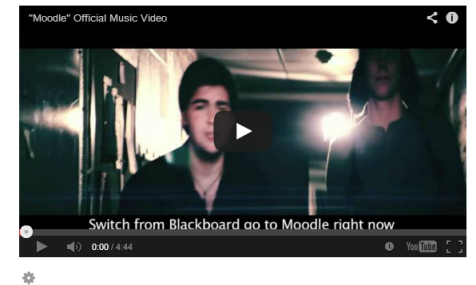
- Note: To search for and embed a video from youtube, see here
- Change the save as/author/license settings if desired and click upload this file or select this file
- Your video will appear in a preview player. Click Insert at the bottom
- Don't panic! You will now only get a blue text link of your video:
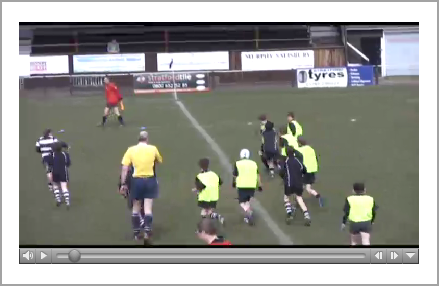
- When you click save changes to return to the main course page, your video will display:
Using a hyperlink
(Note - this method has no advantage over using the media icon, but was popular in older versions of Moodle)
- With your editing turned on, click into the HTML editor where you wish to embed your video.
- Type some blank spaces (or some text) and select them.
- Click the hyperlink icon as in the following screenshot.(The icon will only be clickable if you have selected text or spaces)
- Click 'Browse repositories'
- This takes you to the file picker. Follow the instructions for uploading/selecting your video as for using the Moodle media icon.
- When your video is chosen, it will appear in the link URL box as below. Click Insert:
- Don't panic! You will now only get a blue line (if you selected blank spaces) or the actual text underlined in the HTML editor:
- When you click save changes to return to the main course page, your video will display.
Using embed code to display external videos
- Go to your chosen video sharing site and find the embed code of the video you wish to display. Copy this code.
- With your editing turned on, click into the HTML editor where you wish to embed your video.
- Click the HTML code icon as in the following screenshot:
- Paste your embed code into the box:
- Scroll down and click "update".
- Your video will be previewed in the HTML editor. Click save changes for it to display on the page
See also
- Video FAQ
- Multimedia plugins filter
- Embedding Videos in #Moodle 2.2 blog post from Miguel Guhlin
- Videofile plugin with multilanguage captions capability
- Moodle.org forum discussion about players and encoding


