Using Label
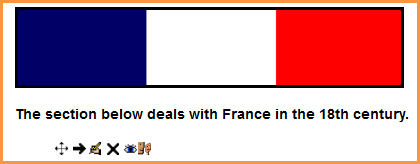
A label is a versatile module that can serve a spacer between resources on a course page. It can provide a space for embedding banners, sound or video files or displaying code from Web 2.0 widgets.
Adding images to a label
- Follow the instructions for adding a label
- Click the image icon in the HTML editor
- Click "Find or upload an image"
- Choose and upload your image using the filepicker.(Details on how to do this here)
- Leave Common module settings at "show" if you wish the label to be visible
- Click "Save and return to course"
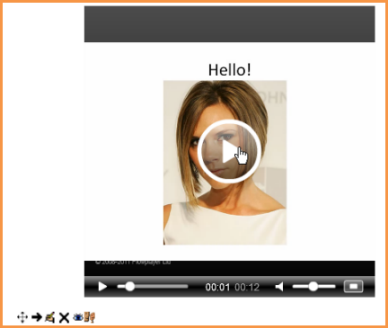
Adding sound or video to a label
If multimedia filters are enabled, a label is a neat way of displaying sound or video in an inline player on the course page.
- Follow the instructions for adding a label
- Click the media icon in the HTML editor
- Click "Find or upload an sound,video or applet"
- Choose and upload your sound or video file using the filepicker.(Details on how to do this here)
- Note: You can search youtube for a video to embed if your admin has enabled the youtube repository.
- Leave Common module settings at "show" if you wish the label to be visible.
- Click "Save and return to course"
Adding code to a label
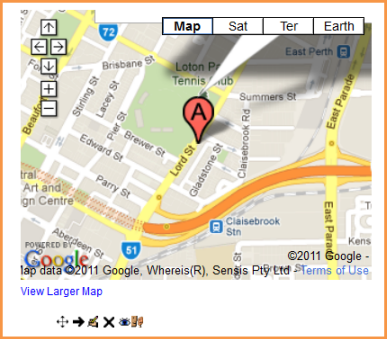
An example of this is the ability to embed a Google map into a label.
- Follow the instructions for adding a label
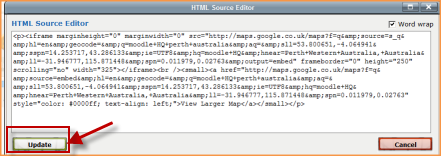
- Click the HTML icon in the HTML editor
- This brings up the screen in code (HTML) view.
- Paste the code you grabbed from Google maps into this screen
- Scroll down and click "Update"
- Leave Common module settings at "show" if you wish the label to be visible.
- Click "Save and return to course"
Note: The success in adding code to a label depends both on the type of code and the permissions of the user. (Details to follow)
See also
Using Moodle forum discussions:


