Custom certificate module
| Custom certificate module | |
|---|---|
| Type | Activity |
| Set | N/A |
| Downloads | https://moodle.org/plugins/mod_customcert |
| Issues | https://github.com/mdjnelson/moodle-mod_customcert/issues |
| Discussion | https://moodle.org/mod/forum/view.php?id=7163 |
| Maintainer(s) | Mark Nelson |
Description
The custom certificate module allows the generation of dynamic PDF certificates with complete customisation via the web browser. It is different from the certificate module which requires PHP and FTP access in order to customise its appearance.
Installation
There are two installation methods that are available.
Follow one of these, then log into your Moodle site as an administrator and visit the notifications page to complete the install.
Git
This requires Git being installed. If you do not have Git installed, please visit the Git website.
Once you have Git installed, simply visit your Moodle mod directory and clone the repository using the following command.
git clone https://github.com/mdjnelson/moodle-mod_customcert.git customcert
Then checkout the branch corresponding to the version of Moodle you are using with the following command. Make sure to replace MOODLE_32_STABLE with the version of Moodle you are using.
git checkout MOODLE_32_STABLE
Use git pull to update this repository periodically to ensure you have the most recent updates.
Download the Zip
Visit the Moodle plugins website and download the zip corresponding to the version of Moodle you are using. Extract the zip and place the 'customcert' folder in the mod folder in your Moodle directory.
Site settings
To visit the site settings log in as a user with appropriate permissions and visit 'Site administration' > 'Plugins' > 'Custom certificate'.
Show position X and Y
This will show the X and Y position when editing of an element, allowing the user to accurately specify the location.
This isn't required if you plan on solely using the drag and drop interface for this purpose.
Manage templates
This link will take you to a new screen where you will be able to manage templates.
Upload image
This link will take you to a new screen where you will be able to upload images. Images uploaded using this method will be available throughout your site to all users who are able to create a custom certificate.
Managing templates
Templates allow a person with the appropriate permissions to create a site-wide template that can then be used by users when adding a certificate to a course, saving them from re-creating the same certificate over and over again. To create a template log in as a user who has the appropriate permissions and visit 'Site administration' > 'Plugins' > 'Custom certificate' and click on the link 'Manage templates'.
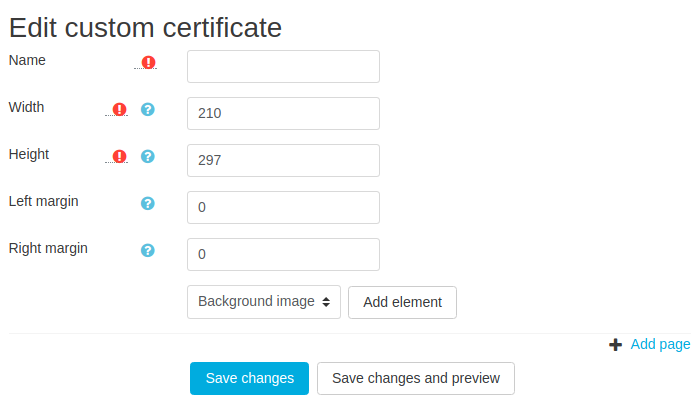
Here you will see a list of templates that have already been created. You can choose to edit these templates, delete them or create a new one. We will be creating a new template - start by clicking on 'Create template'.
The name here is what will be displayed to the users when they are creating a certificate in a course and would like to choose a template to load. You can add elements to the template, customise them and rearrange their position. This process is discussed later when we talk about adding a custom certificate to a course and then customising it.
Adding a custom certificate to a course
The custom certificate plugin once installed can be added just like any other activity in Moodle. Visit a course, turn editing on and click to add an activity.
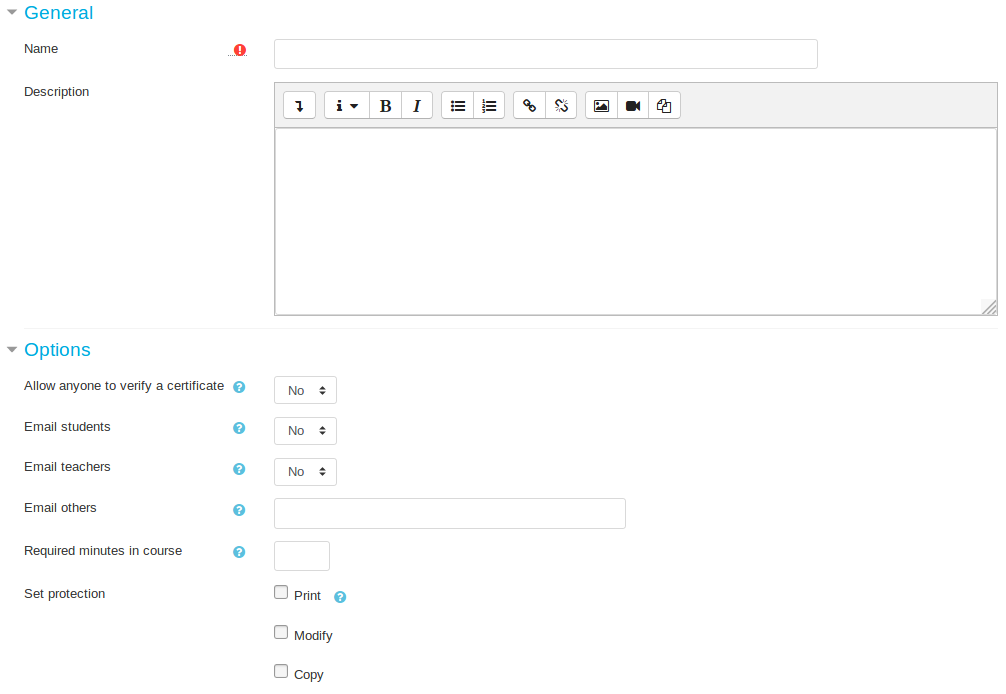
Certificate options
Allow anyone to verify a certificate
Each certificate when issued is assigned a unique code. It is possible to have this code displayed on the certificate by adding it as an element. To validate a certificate a person (eg. employer) may want to enter the code displayed on the certificate to confirm that it is indeed authentic. To accomplish this a logged in user requires the capability 'mod/customcert:verifycertificate', however with this setting set to 'Yes' any person with the verification link (including users not logged in) can do this.
Email students/teachers/others
These settings enable the emailing of a certificate when a user is able to view it. The certificate may be hidden due to [access restrictions], such as requiring the completion of another activity. A [scheduled task] runs that processes all the certificates that have any of these settings enabled and collects all the users to email that have not been emailed yet and are able to view the certificate and emails them the PDF.
Required minutes in course
This is the number of minutes a user is required to be in a course before they are able to view a certificate. This uses the logs in Moodle and hence can not guarantee the result to be 100% accurate.
Set protection
This determines what protection we want to set on the PDF.
Editing a custom certificate
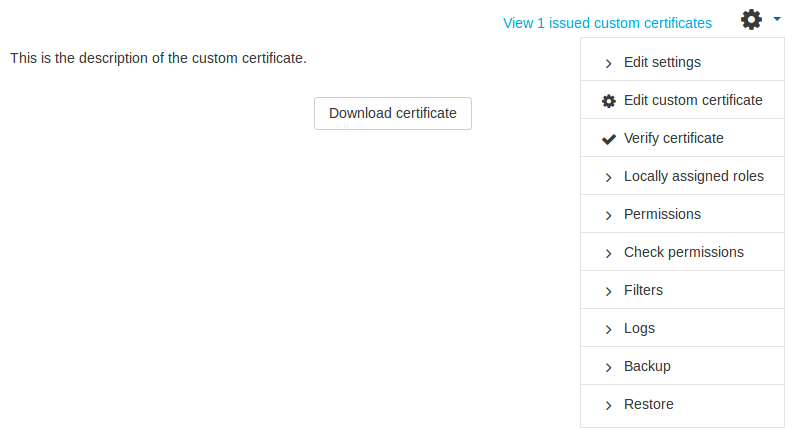
Once you have added a certificate to your course you can then choose to edit the appearance of it. To do this view the certificate to be taken to the following page.
Here you can click on the cog on the top right and select 'Edit custom certificate'.
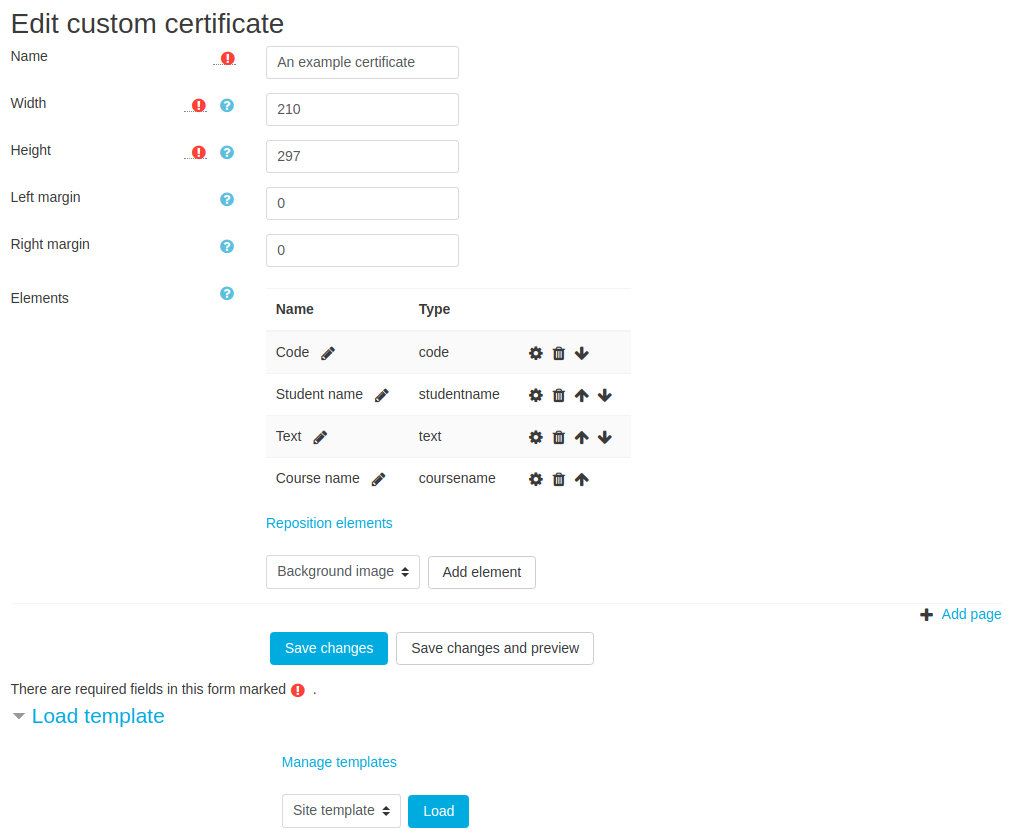
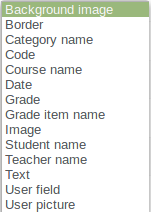
On the edit page you can see a list of the elements that have already been added to the certificate. You can edit, delete and move these elements. The order of these elements determine when they are rendered on the PDF. So, if you were to add a background image you would want this rendered first.
You can also choose to load a template on this page. If you also have the permissions to manage templates you will also be shown the link to the manage templates page.
Adding/editing an element
The above is the list of items that come with this plugin. These are [sub-plugins] and are fully customisable allowing the community to generate plugins and share them without having to hack the plugin code.
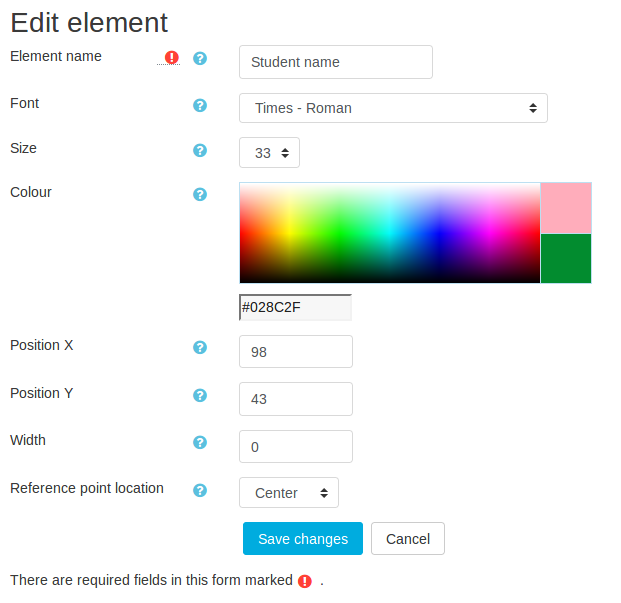
When editing a custom certificate you can choose to add an element which will take you to the page to edit them.
Each element defines what characteristics you can edit. In the above example we are editing the 'Student name' element. The site setting 'Show position X and Y' has been enabled which is why 'Position X' and 'Position Y' are shown.
Repositioning elements
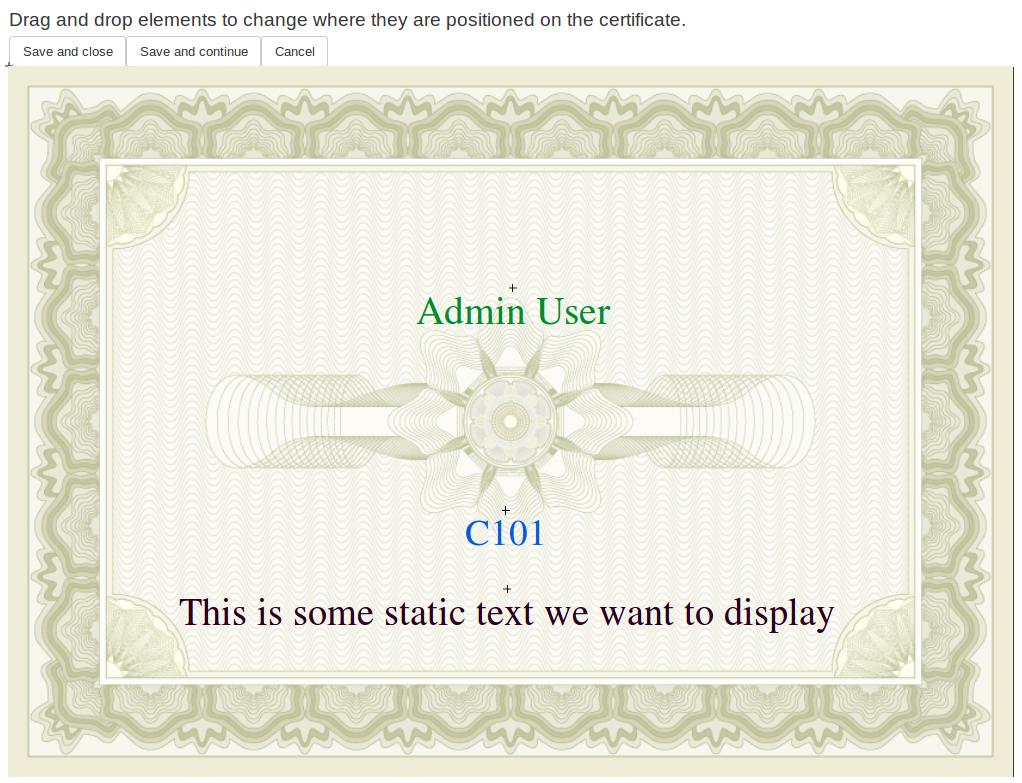
When editing a custom certificate under the list of elements there is a link 'Reposition elements' that will take you to a page where you can drag and drop the elements. While on this page you can also click on the elements to bring up a dialogue that will allow you to edit its properties without having to go back to the edit custom certificate page.
Viewing issued certificates
To view issued certificates a user with the appropriate permissions can simply click on the certificate and click on the link 'View X issued custom certificates'.
Once you click on the link you can view the users who have been issued this certificate and also download their version of the certificate.
Verifying certificates
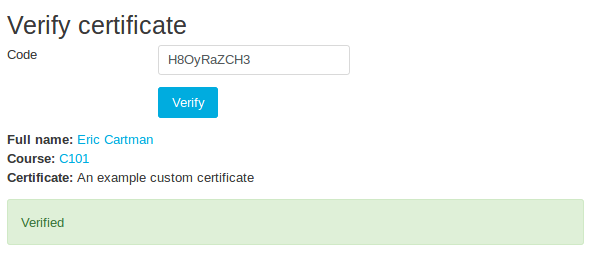
Each certificate when issued is assigned a unique code. To validate a certificate a person (eg. employer) may want to enter the code displayed on the certificate to confirm that it is indeed authentic. With the setting 'Allow anyone to verify a certificate' enabled any person with the verification link (including users not logged in) can verify a certificate, however if it is not set, a user with the appropriate permissions ('mod/customcert:verifycertificate') can do this by clicking on the certificate to gain access to the link.
Here you can click on the cog on the top right and select 'Verify certificate'.
Here you can enter the code to verify its authenticity.
My certificates
It is possible that a user may be in several courses each with their own custom certificate activity. It would be time consuming for the user to visit every course to review their certificate. In order to avoid this there is a page where the user can view all the certificates they have received.
On the user's profile page under 'Miscellaneous' the user can click on 'My certificates' which will take them to a page listing all their certificates with the option of downloading them.
Helpful links
See the plugin page, the tracker page and the Moodle forum.
Add_fonts_for_embedding - see this page for details of adding more fonts for use in TCPDF
Did you find this plugin useful?
Click on the 'Add to my favourites' link in the plugin page.


