WebDAV repository
Web-based Distributed Authoring and Versioning (WebDAV) is a set of methods based on the Hypertext Transfer Protocol (HTTP) that facilitates collaboration between users in editing and managing documents and files stored on World Wide Web servers.
A WebDAV repository can be enabled by a site administrator in Administration > Site administration > Plugins > Repositories > Manage repositories.
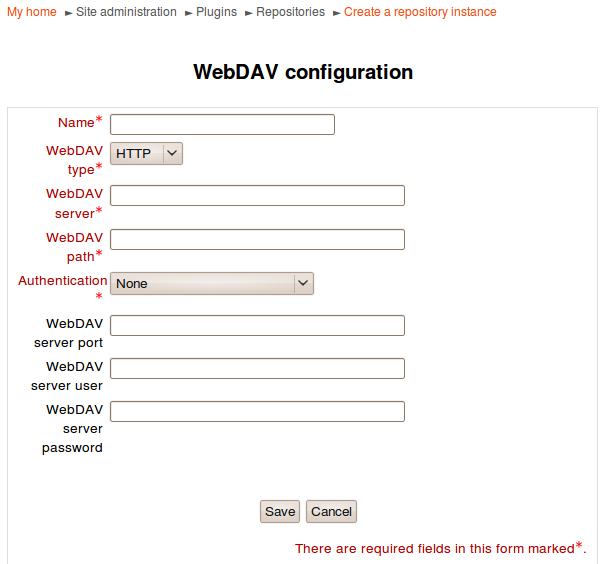
WebDAV configuration
After enabling the WebDAV repository, a repository instance can be created in Administration > Site administration > Plugins > Repositories > WebDAV repository.
Options
WebDAV type: Choose from HTTP or HTTPS connection
WebDAV server: The server name
WebDAV path: The path to webdav directory
Authentication: We currently only support HTTP Basic Authentication
WebDAV server port: The webdav server port
WebDAV server user: HTTP Basic authentication username
WebDAV server password: HTTP Basic authentication password
For example, if you are going to add a webdav server at http://webdavserver.tld/path/to/dir, you should use following options: WebDAV type: HTTP WebDAV Server: webdavserver.tld
Configuring WebDAV on Microsoft Windows Server 2003 R2 (Service Pack 2), IIS V6.0
Configure Windows Server 2003
First we need to install WebDAV on the server. Note: when you promote a basic Windows Server 2003 installation to an application server, it installs various IIS 6 components but WebDAV isn’t one of them.
Install and Enable WebDAV on the Server
To install WebDAV on the IIS 6 machine, use Add or Remove Programs in Control Panel and run the Windows Components Wizard. You can find WebDAV under Application Server -> Internet Information Services -> World Wide Web Service -> WebDAV Publishing.
Once WebDAV is installed it needs to be enabled. Check the WebDAV option under the Web Service Extensions node in IIS Manager.
Configure IIS
Configuring a new virtual directory in IIS is a two-step process:
- Create a new virtual directory using the Virtual Directory wizard
- Configure the access permissions on the new virtual directory
Create New Virtual Directory
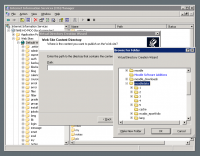
- Open IIS and right-click on your Moodle website. Select New -> Virtual Directory... from the pop-up menu.
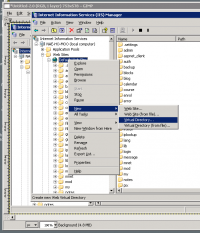
- Select New -> Virtual directory... from the pop-up menu. The Create New Virtual Directory Wizard is displayed.
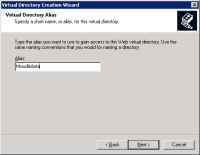
- Call the new virtual directory Moodledata.
- Specify the path to the Moodledata directory.
- Ensure the new virtual directory has Read, Write and Browse permissions.
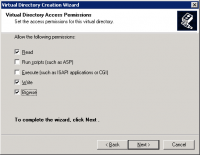
- Press the Finish button to create the new virtual directory.
Configuring Virtual Directory Properties
- Right-click on the new virtual directory and select Properties from the pop-up menu.
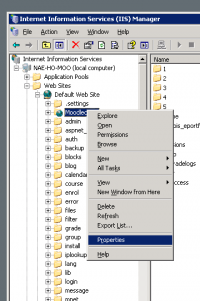
- Ensure that Read, Write, Directory browsing, and Log visits are checked. Ensure Index this resource is unchecked.
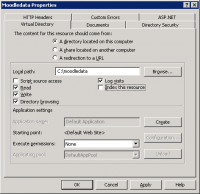
- Click on the Directory Security tab and press the Authentication and access control Edit... button
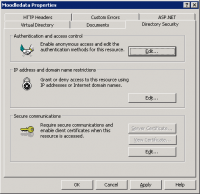
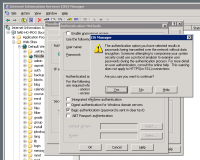
- Authenticated access configuration will depend on your needs. Basic access will require you to uncheck Enable anonymous access and check Basic authentication (password is sent in clear text). You may get a warning about security:
- Your new virtual directory is ready for testing.
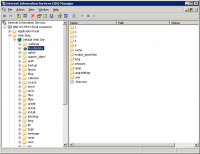
Testing WebDAV on Windows XP
WebDAV needs to be enabled on any client machines that will be used to create and manage content for Moodle. Windows XP has a built-in WebDAV client service that needs to be enabled:
- Open the Services console under Administrative Tools and find the WebClient service.
- Double-click on this service to open its Properties sheet.
- Change the Startup Type to Automatic, then click the Start button to start the service.
Note: Internet Explorer 8.0 no longer supports web folders. See this blog post from David Conner for details. Instead, you will need to map a network drive (instructions on mapping a network drive are also given in David's blog post).
WebDAV path: /path/to/dir/
Repository permissions
This repository is accessible by default to administrators, course creators, teachers, editing teachers and managers, but not to guests or students. This capability can be changed to control access to users with specific roles.
