The following steps will demonstrate how to setup a program where users can receive a certificate:
1. Make sure certificates are enabled on the configuration screen. Go to the Program Management block > Admin > Configuration > Certificates (see below).
2. The program will need a course description assigned to it.
3. When users complete the credit and/or course descriptions for a program, the certificate will become available to the student. If a program does not have required credits, then students can complete it simply by completing the courses assigned to the program.
Certificate Configuration:
Certificates need to be enabled at the site level for them to be available to your users. Go to the Program Management block > Admin > Configuration > Certificates.
Make sure "Disable Certificates" is unchecked.
As of ELIS 1.9, site admins can configure the certificate image - you can choose from a set of standard images, or create your own and upload them.
You can also add a custom seal image - choose from the default list or create and upload your own.
The student can access the program certificate by going to the Program Management block > Program > Certificate List and then link to certificates that are available.
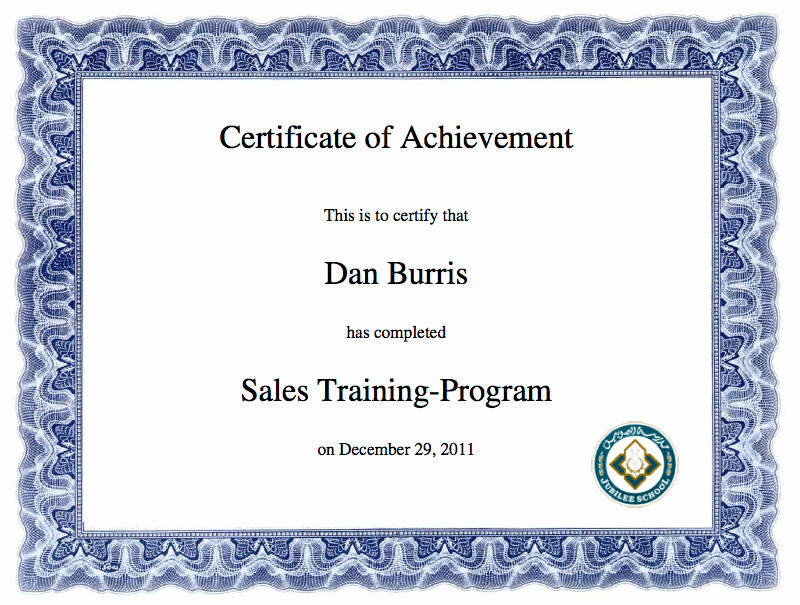
The certificate will be printed out with the user's name, program name, and date of completion. If Program Expiration is used, the expiration date for the certificate will also be displayed.
Default custom images: In the example above, the site admin has chosen the "Fancy1-black-copy" border and the "Fancy-copy" seal image. The first image on this page is displaying the certificate settings.
When making changes to the certificate settings the changes are immediate, if you select new files in the Certificate Configuration, all students who view their certificates online from that point forward will see the new images.
When the student views their certificate with these settings they will see the selected border and logo.
Adding your own images:
The certificate functionality in ELIS enables you to customize your certificate by adding your own images for borders and seals. You can add more border images by uploading them to your moodledata directory under the directory curriculum/pix/certificate/borders/, and add seal images by uploading them to your moodledata directory under the directory curriculum/pix/certificate/seals/.
The images need to be same size as the default images to render correctly in the pdf, so it is a good idea to download an existing image for border or seal, and then use that as a template.