Block settings
From MoodleDocs
- Managing blocks
- Block settings
- Activities
- Admin bookmarks
- Blog menu
- Blog tags
- Calendar
- Comments
- Community finder
- Course completion status
- Course overview
- Course/site description
- Courses
- Flickr
- HTML
- Latest news
- Login
- Logged in user
- Main menu
- Mentees
- Messages
- My private files
- Navigation
- Network servers
- Online users
- People
- Quiz results
- Random glossary entry
- Recent activity
- Recent blog entries
- Remote RSS feeds
- Search forums
- Section links
- Self completion
- Settings
- Social activities
- Tags
- Upcoming events
- Youtube
- Blocks FAQ
Adding a block to a page
Blocks can be added to a page by turning editing on then using the 'Add a block' drop-down menu.
Please see Blocks for a list of all the blocks in a standard Moodle install. Your site may have added contributed blocks and or your site administrator has disabled specific blocks on your site.
Block configuration
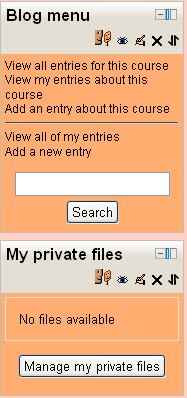
After adding a block, click the edit icon in the block header to configure it.
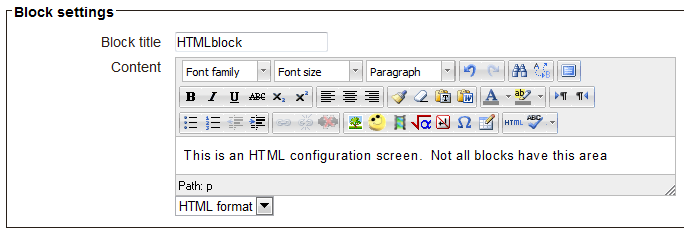
Block settings
Certain blocks, such as the HTML block, allow a block title and more to be set.
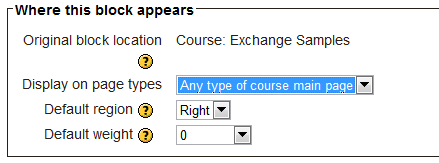
Where this block appears
Depending upon the context and users permissions, this area determines where this block will appear.
- Original block location: provides information about where the block was initially created.
- Display on page types: allows the user to set the context that the block can appear in. These options will vary depending upon the permissions of the user. For example a site administrator might see a setting that will allow the block to appear on Any page, or any type of course main page, while a teacher may only see the option to place it on every page in the course.
- Default region: Usually a right column or left column option
- Default weight: Where in the column do you want it to appear if there are other blocks in that column. -10 will put it at the top, 10 will put it at the bottom. A zero is neutral.
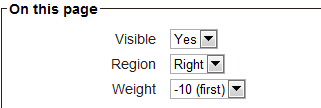
On this page
- Visible - Yes or No.
- Region - Here you can override the column preference on this page.
- Weight - Here you can override the default setting on this page.


