19/Activar la edición

De MoodleDocs
Revisión del 13:34 7 oct 2016 de German Valero (discusión | contribs.) (tidy up)
(difs.) ← Revisión anterior | Revisión actual (difs.) | Revisión siguiente → (difs.)
note icon.png Existe documentación diferente para varias versiones de Moodle: Esta documentación es para Moodle 1.9, pero Usted puede ver la documentación más reciente en Página principal del curso


Para activar la edición se debe elegir

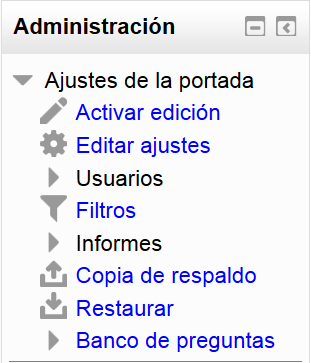
Si estamos en la Portada

  • En el Bloque de Administración > Ajustes de la portada > Activar edición

Administracion activar edicion.png

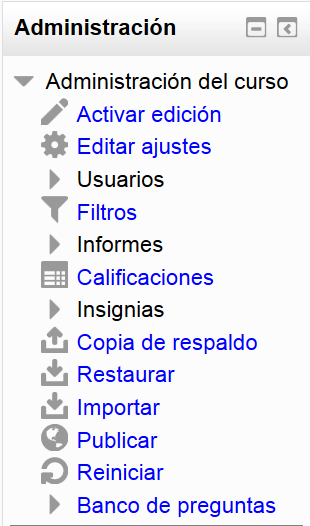
Si estamos dentro de un curso

  • En el Bloque de Administración > Administración del curso > Activar edición

Administracion del curso activar edicion.png

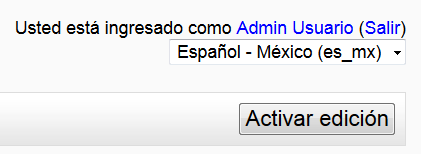
  • O elegir el boton 'Activar edición que está debajo de nuestro nombre de usuario en la parte superior derecha de la pantalla.

Boton activar edicion.png

General

The Turn Edit On or Off option can be found as a link in the administration block Administration Block Turn Editing on.JPG or as a button Turn edit on button.JPG at the top right of a course homepage. This option is only available to teachers of the course who also have editing rights or to those users who are assigned site administration rights. Turn editing on allows teachers to change the appearance and functionality of the course. You can turn editing off again by pressing the button or the admin block link again (both now renamed turn editing off!)

You will see these icons frequently when editing is on:

Edit.gif - el ícono del lápiz le permite a Usted editar en-línea el título del recurso / actividad.
Help.gif - el ícono de ayuda abrirá una ventana emergente de ayuda relevante

Bloques

Los bloques existentes pueden moverse hacia arriba, abajo o mandarse a la columna derecha o izquierda del curso. Los bloques pueden hacerse visibles o hacerse ocultos. Se pueden eliminar completamente al presionar el ícono de la X.

Usted verá estos íconos al editar bloques:

Block open.gif - el bloque es visible. Al hacer click en el ojo se les ocultará el bloque a los estudiantes
Block closed.gif - el bloque está oculto. Al hacer click en el ojo se les mostrará el bloque a los estudiantes
Block delete.gif - al hacer click en este ícono se quitará el del curso
Block up.gif -este ícono moverá el bloque hacia arriba
Block down.gif - este ícono moverá el bloque hacia abajo
Block left.gif - este ícono moverá el bloque al fondo de la colummna izquierda
Block right.gif - este ícono moverá el bloque al fondo de la colummna derecha

Secciones

Topics or weeks are the most common types of section formats. The section description that appears to student can be edited with the Edit.gif edit icon.

Sections can be moved up or down to change the order in which the course is dispayed. Sections can also be hidden from, or made visible to, learners. If the course is topic based then a topic can be set as current (or indeed the current status can be removed).

Open.gif - the open-eye icon means an item is visible to students. It will close when you click on it
Closed.gif - the closed-eye icon means an item is hidden from students. It will open when you click on it.
Marker.gif - the marker icon allows you to make a section current
Block up.gif - this icon will move the section upwards
Block down.gif - this icon will move the section down

The following icons are visible when editing is both on and off

One.gif - This icon is used to show only the selected section
All.gif - This icon is used to show all sections in a course

Actividades y Recursos

Course resources and activities may be added, removed, indented, moved, updated, deleted, hidden, shown or assigned to groups. The teacher can edit individual activities and resources in a section by clicking on their individual icons.
Edit.gif - the edit icon goes to the "update" or "settings" screen for the activity or resource
Open.gif - the open-eye icon means an item is visible to students. It will close when you click on it
Closed.gif - the closed-eye icon means an item is hidden from students. It will open when you click on it
Right.gif - the right icon is used to indent course elements (there is also a left icon)
Move.gif - the move icon allows course elements to be placed anywhere
Movehere.gif - the move here icon appears when moving a course element
Delete.gif - the delete icon will permentantly delete something from the course

Vea también

19/Documentación para Profesores