Building Database
After creating a database, as explained in Database activity settings...
- Next you define the kind of fields that define the information you wish to collect. For example a database of famous paintings may have a picture field called painting, for uploading an image file showing the painting, and two text fields called artist and title for the name of the artist and the painting.
- It is then optional to edit the database templates to alter the way in which the database displays entries.
- Note that if you later edit the fields in the databases you must use the Reset template button, or manually edit the template, to ensure the new fields are added to the display
- The teacher and/or students can start entering data and (optionally) commenting on and grading other submissions. These entries can be viewed alone, viewed as a list or searched and sorted.
- Data can be uploaded into the database from a .csv file.
You can add many kinds of fields to your database. After you have created some fields, you will be able to add information to the database.
Creating a single entry
Go to the "Add entry" tab and fill in the form.
Importing many entries
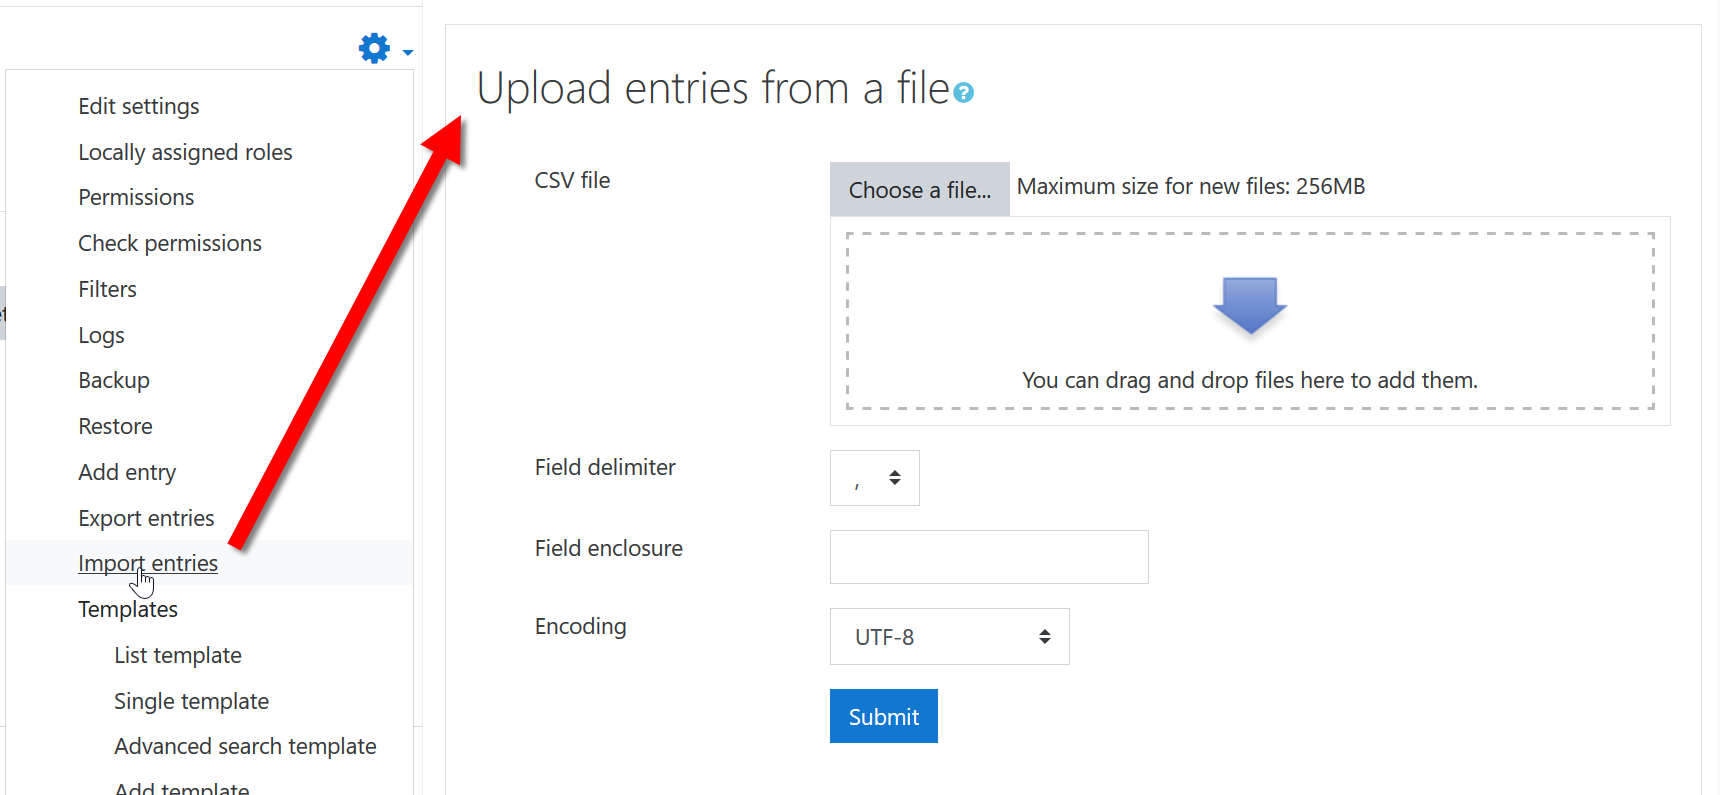
You can import entries via a csv file if you click the "Import entries" link in the Database activity administration block:
Here's a sample of what a very simple file will look like.
Do not put spaces after your commas or upload will fail!
After upload page import.php comes back blank if it failed. If successful you'll read a message like, "1 entries saved".
Activity import
Database activity entries may be imported by uploading a text file. The easiest way to determine the format of the text file is to manually add an entry to the database and then export it. The resulting export text file may then be edited and used for importing entries.
CSV means Comma-Separated-Values and is a common format for text interchange.
The expected file format is a plain text file with a list of field names as the first record. The data then follows, one record per line.
The field delimiter defaults to a comma character and the field enclosure is not set by default (field enclosures are characters that surround each field in each record).
Records should be delimited by new lines (usually generated by pressing RETURN or ENTER in your text editor). Tabs can be specified using \t and newlines by \n.
Sample file:
 name,height,weight
 Kai,180cm,80kg
 Kim,170cm,60kg
 Koo,190cm,20kg
Warning: all field types may not be supported.
Exporting Database
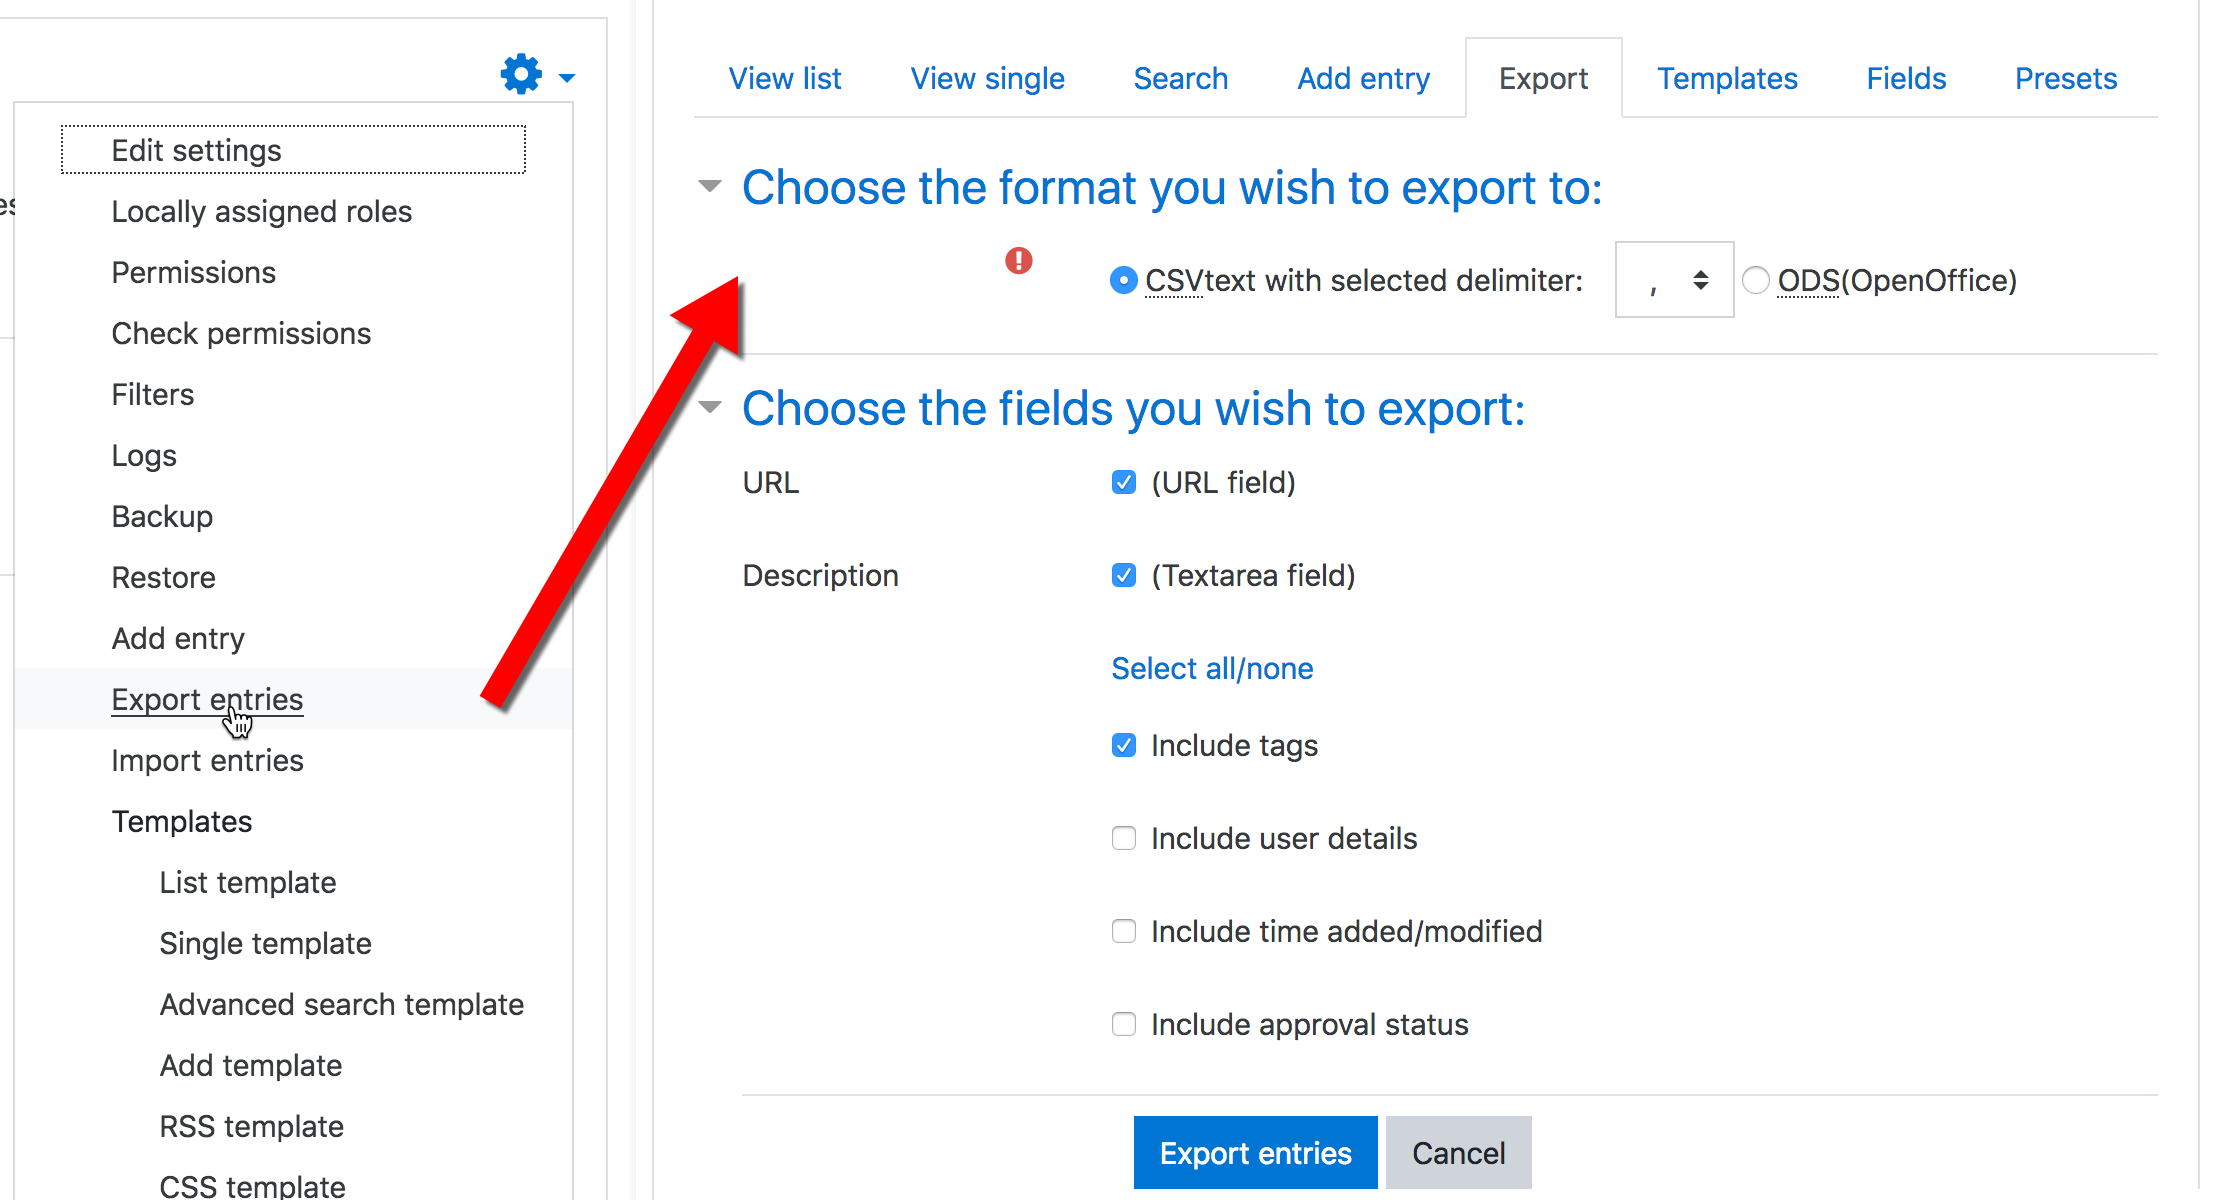
Choose the format you wish to export to
You can export entries either in CSV (comma separated values) or ODS (OpenOffice Calc) formats by clicking the tab at the top or by clicking the "Export entries" link in the Database Activity administration block. (Both CSV and ODS formats can be opened with MS Excel.)
When using the CSV format, the user can select either the comma, semicolon, or tab to separate the fields. The selection of the proper character is important. If users select to use a comma to separate the fields and some of the fields contain data with commas then the number of columns is going to be misaligned and likely cause confusion.
Choose the fields you wish to export
Users can select which fields from the database they wish to have exported. By default, all fields are checked to be included. Choose the fields that you wish to have included in the export.
Export entries
Once the export type and the fields to be exported have been selected, clicking on the Export entries pushbutton will generate the file. The user will usually have the option of either opening or saving the file.
Exporting to an external portfolio
If an external portfolio such as Mahara has been enabled by the administrator then users have the option to export individual entries to that portfolio. They will see at the bottom of a database entry an "export" icon to click on and select the portfolio to export to:


