Checklist quick guide: Difference between revisions
From MoodleDocs
Luca Bösch (talk | contribs) |
Luca Bösch (talk | contribs) |
||
| Line 32: | Line 32: | ||
*If students have been allowed to add their own items they will see a button to do so: | *If students have been allowed to add their own items they will see a button to do so: | ||
[[File:Checklistactivityadditems.png]] | [[File:Checklistactivityadditems.png|500px]] | ||
*If the block has been added, students can see a progress bar and can click a link to access the activity: | *If the block has been added, students can see a progress bar and can click a link to access the activity: | ||
[[File:checklistblock.png]] | [[File:checklistblock.png|300px]] | ||
==How can I get it?== | ==How can I get it?== | ||
Latest revision as of 09:24, 24 May 2019
What is Checklist?
Checklist is an activity (with a related block) which allows students or teachers to check off items on a course as they are completed and thus have a customised record of progress.
For more detailed information, see the Checklist activity documentation .
How is it set up?
The Checklist activity
- With the editing turned on in a course, add Checklist from the Activity chooser. Watch the Checklist screencast for a video walk-through.
- Give it a name and, if needed, a description.
- Decide on the settings:
- Do you want to allow students to add their own items?
- Who should be allowed to add updates?
- Do you want due dates appearing in the calendar?
- Do you want to allow teacher comments?
- If you want an email sent out when the list is complete, whom should it go to?
- Do you want to automatically add all course items to the checklist? Or just those in the current section? You must choose one or the other in order for items to be displayed.
- Do you want completed items to be automatically checked off?
The Checklist block
- Once a checklist has been created you can display its items in block form.
- With the editing turned on, click Add block and select Checklist.
- Click the configure icon to select which checklist to display (if you have more than one) and, optionally, which groups.
How does it work?
- Students see either a Checklist activity or block or both in their course.
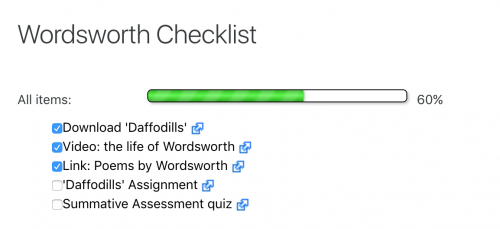
- If they click the activity, they see a list of tasks with a progress percentage:
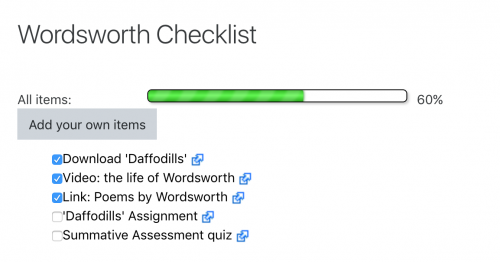
- If students have been allowed to add their own items they will see a button to do so:
- If the block has been added, students can see a progress bar and can click a link to access the activity:
How can I get it?
Checklist consists of two related and contributed plugins which must be installed by the administrator from the plugins directory here: activity and block
It is also available as standard in Moodle for School sites.


