Complete Install Packages for Mac OS X
Complete install packages for Mac OS X are available from Moodle Downloads. Please scroll down the page to see the complete Mac installs. They are designed for new and local installations on a Mac computer/server. There are other downloads for Linux, and Window Operating Systems that may involve more customization of configuration files.
The complete install packages for Mac OS X are named Moodle4MacOSX. These packages allow Moodle to be installed, along with the prerequisites that includes a web server, database and scripting language (Apache, MySQL and PHP in this case). Several versions of the complete install package are available. You will find versions for Intel based Macs and PPC based Macs. Please use the correct version for your processor. The instructions on the download page provide guidance on which version is likely to be most suitable.
Note: The latest complete install package version components, may not be backwardly compatible. Always check version compatibility of each component if you intend to develop materials on a later version of Moodle than the version installed on your "main" Moodle site. In short, complete install packages are designed for first time install on a "clean" machine.
System requirements
 + Apple Mac Computer
 + iMac, Mac mini, MacBook, iBook, PowerBook
 + Processor: PPC (G3, G4, G5) or Intel (Dual Core)
 + RAM: 256 MB or better
 + Hard Disk: 250 MB free
 + System Software: Mac OS X 10.3 or 10.4
Install complete package
First install Apache, MySQL, PHP
Step 1: Download the zipped disk image file from the Moodle download page. Please choose the correct file for your processor type. The zip archive should be unzipped automatically when the download is complete. If the download file is not unzipped please do this manually.
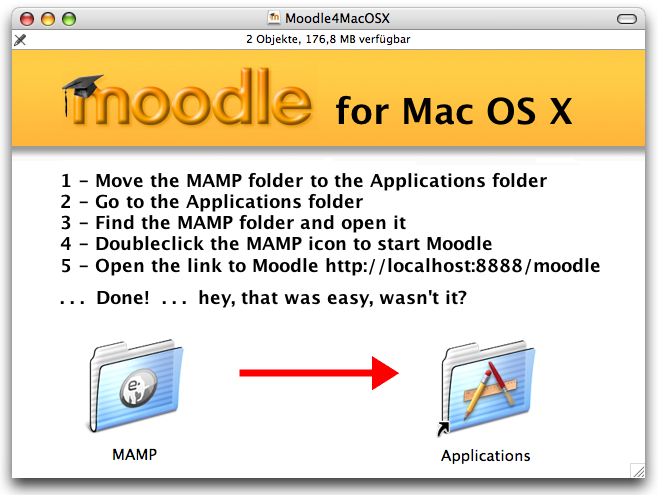
Step 2: Doubleclick the file Moodle4MacOSX.dmg to mount the installation disk.
Step 3: Move the folder MAMP into the folder Applications
MAMP makes no entries in any registry and no settings for the system variables. If you want to know more about MAMP please read on the project page http://mamp.info/
Step 4: Now you are ready to start your web server. Go to the Applications folder. Find the MAMP folder and open it. Doubleclick the icon MAMP to start the server.
Step 5: Start your browser and type http://127.0.0.1:8888 or http://localhost:8888 in the address bar. You will either start your preinstalled Moodle.
Step 6: Please login with username admin and the password 12345 and you will be the main administrator of your new local Moodle.
Start the Moodle installation
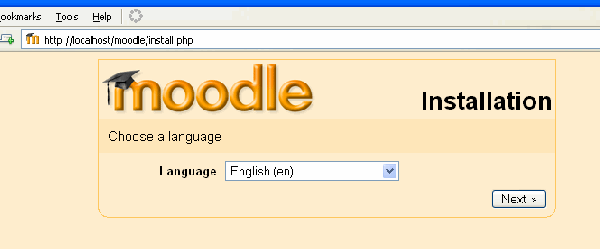
- In your web browser, type the path to the folder containing the Moodle files in te address bar – in this example it’s http://localhost/moodle, in the above example it would be http://localhost.
- The initial install page is displayed.
- Choose your preferred language (English is used in this example) and click the “Next” button.
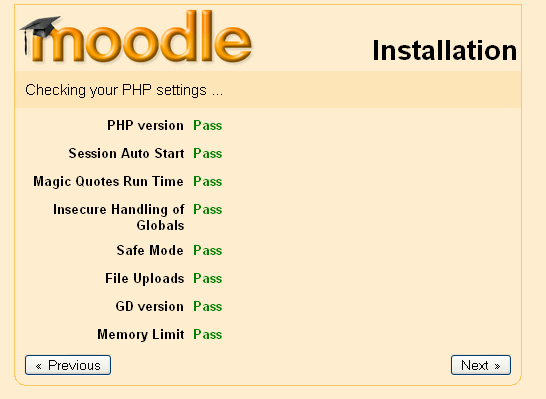
- A diagnostic report is displayed – hopefully it will look like this, if not you may need to address some issues.
- Click the “Next” button to continue.
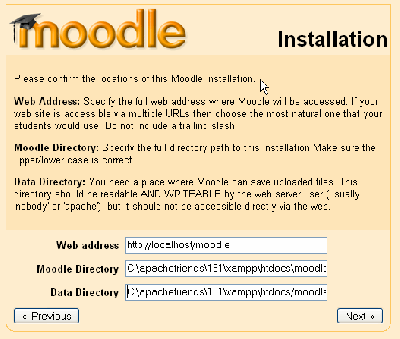
- The paths for your Moodle installation are shown – accept the ones that are shown on your screen.
- Click the “Next” button to continue.
- In this screen we enter the database settings. The fields are populated with some suggested values.
- We strongly recommend you place a user name and password in this screen. (Don't forget them).
- DO NOT USE THE “ROOT” USER WITHOUT A PASSWORD FOR PRODUCTION INSTALLATIONS AS THIS CREATES A SECURITY VULNERABILITY


