Using Blogs
From MoodleDocs
Adding a blog entry
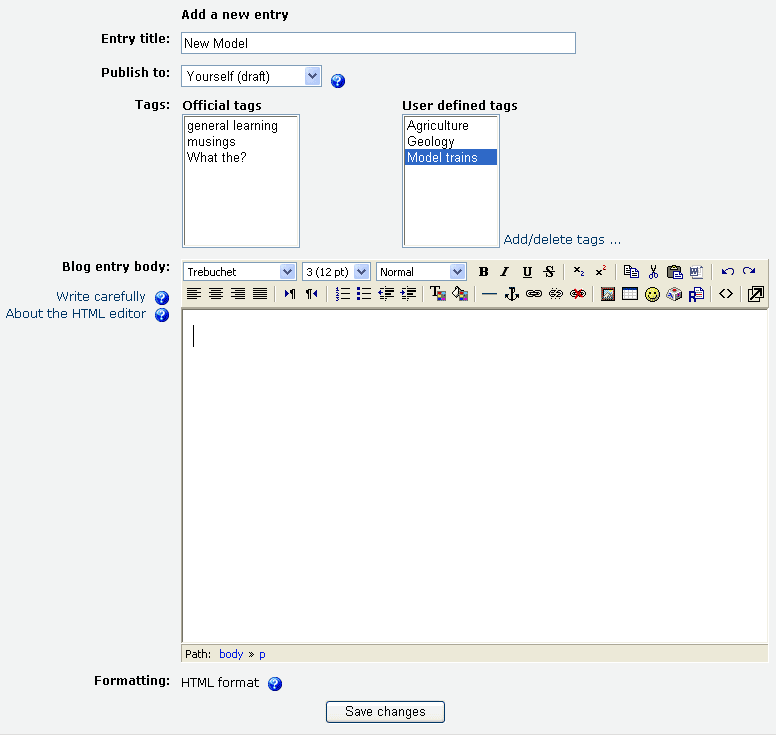
- Click on the Blog tab in your profile page.
- Click on the "Add a new entry" link.
- Write your entry and give it a title.
- If you want to attach a file, click the Browse button, find the file on your computer, and click Open. Be sure your document is smaller than the maximum attachment size.
- Choose who you wish to publish the entry to i.e. who may see the entry. There are three options:
- Yourself i.e. your blog entry is a draft
- Anyone on your site
- Anyone in the world
- Select appropriate official tags for your entry and/or add one or more user defined tags. If you add more then one, they should be comma separated.
- Click on the "Save changes" button.
Editing a blog entry
You may edit your blog entry at any time, perhaps changing the publish option from yourself to anyone on your site, via the edit link at the bottom of the entry. You may also delete the blog entry if you wish.
Permalink
Clicking Permalink on a blog entry gives you a direct link to that particular blog posting (in the address bar). This is so you can send a link to this specific post to someone else.
External blogs
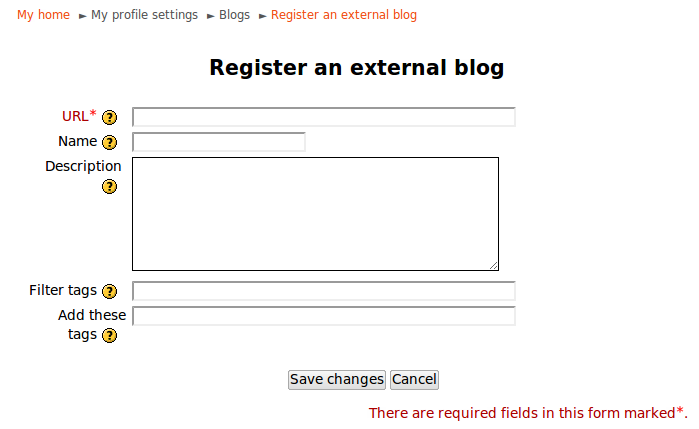
You can register external blogs, such as Blogger or Wordpress so that entries are automatically included in your Moodle blog. Go to Settings > My profile settings > Blogs > Register an external blog.

