Windows installation using XAMPP: Difference between revisions
Ray Lawrence (talk | contribs) |
Ray Lawrence (talk | contribs) mNo edit summary |
||
| Line 1: | Line 1: | ||
*Return to [[Windows installation]] | |||
== Windows installation using XAMP == | == Windows installation using XAMP == | ||
XAMPP is a package which installs PHP, Apache and MySql (amongst other things) and will enable you to run Moodle on a Windows PC, Laptop or Server. | XAMPP is a package which installs PHP, Apache and MySql (amongst other things) and will enable you to run Moodle on a Windows PC, Laptop or Server. | ||
Revision as of 15:27, 5 February 2006
- Return to Windows installation
Windows installation using XAMP
XAMPP is a package which installs PHP, Apache and MySql (amongst other things) and will enable you to run Moodle on a Windows PC, Laptop or Server.
The following is a step by step guide to installing Moodle on a computer running Windows XP using the XAMPP package.
Preparation
Get Moodle!
Download the version of Moodle you wish to install from Moodle.org
Get XAMPP!
Download XAMPP for Windows from Apachefrienrds.org. This example assumes that you have downloaded the “Installer” package.
Allow yourself some time
Say 45 minutes.
Installing XAMPP
Run the installer, eventually you will be presented with an option about where to install the package.
In this example we are installing the package at c:\apachefriends\151 – that’s because it suits what our needs, you can choose you own location.
Continue with the installation, this will take a while!
Eventually you will be presented with the option to install Apache, MySQL, Filezilla as a service.
It’s probably best to choose “No” for now. You can always enable these as services later.
Next you’ll be asked if you want to start the XAMPP Control Panel.
Click the “No” button.
Change PHP version
It’s a good idea to use PHP version 4.x before installing Moodle. Roll back to an earlier version of PHP as follows:
From the “Start” menu locate the program group for apachefriends > xampp
Select “php switch”
Follow the instructions in the window.
Launch XAMPP Control Panel
On your Desktop, locate the XAMPP icon and double click to launch the Control Panel.
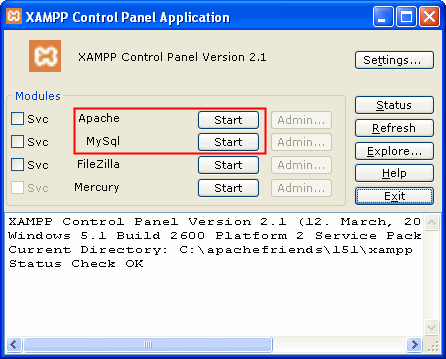
When the XAMPP Control Panel has launched, click the “Start” buttons for Apache and MySQL.
If all is well you will see something like this.
Create the database
To create a database for your Moodle “site” we will use the phpMyAdmin utility included with XAMPP.
To access this launch the web browser of your choice (Firefox is used in this example), type http://localhost in the address bar.
The XAMPP default page is displayed, click the link for your preferred language – we will be using English.
From the menu on the left, click on “phpMyAdmin”
When phpMy Admin has launched in your browser window, enter the name of your database in the “Create new database” field. In this example we are naming our database “moodle153”.
Click the “Create” button to create the database.
The new database should be present in the dropdown list when the page has refreshed.
Extract the downloaded Moodle files to the correct location.
Locate the file downloaded from Moodle.org and either copy or cut the file to the Windows clipboard.
Open the XAMPP Control Panel and click on the “Explore” button.
A Windows Explorer view similar to the one below will be displayed.
Open the “htdocs” folder.
Paste the file cut/copied earlier into this folder.
Extract the Moodle files from the file downloaded earlier. A default folder named “moodle” is created with the Moodle files within.
Start the installation
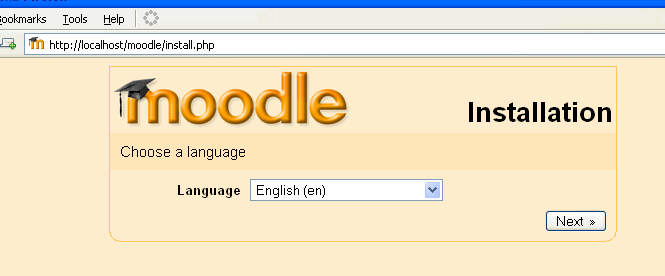
In your web browser, type the path to the folder containing the Moodle files in te address bar – in this example it’s http://localhost/moodle.
The initial install page is displayed.
Choose your preferred language (English is used in this example) and click the “Next” button.
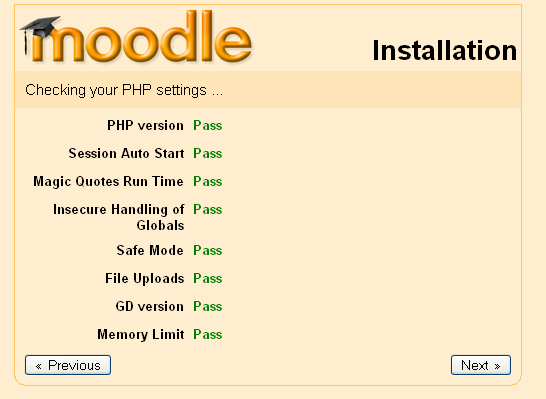
A diagnostic report is displayed – hopefully it will look like this, if not you may need to address some issues.
Click the “Next” button to continue.
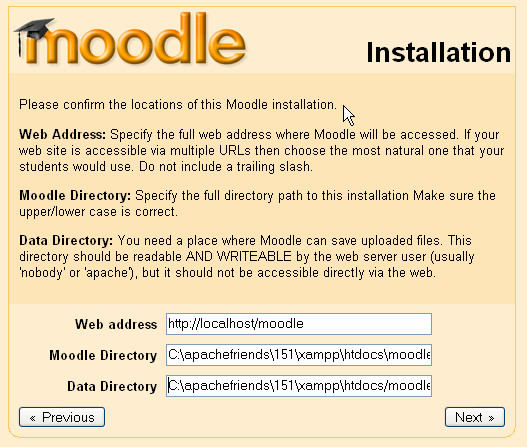
The paths for your Moodle installation are shown – accept these or amend as desired.
Click the “Next” button to continue.
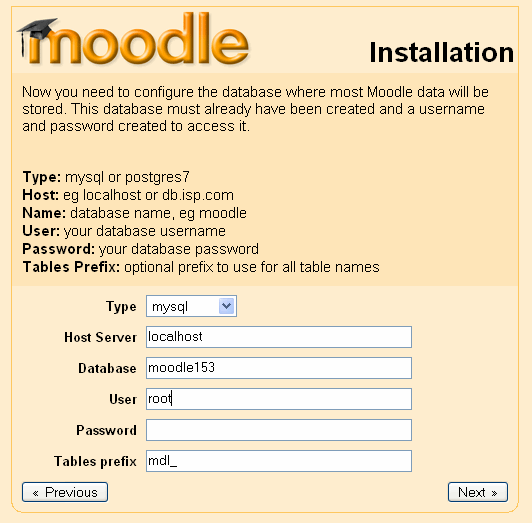
In this screen we enter the database settings. The fields are populated with some suggested values.
In this example the database created is “moodle153”. The “root” user will be used without a password.
DO NOT USE THE “ROOT” USER WITHOUT A PASSWORD FOR PRODUCTION INSTALLATIONS AS THIS IS VULNERABLE FROM A SECURITY POINT OF VIEW.
When the fields have been populated, click the “Next” button to continue.
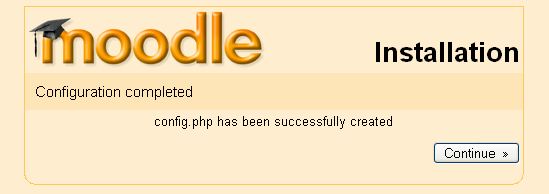
Provided the Moodle folder is writable a message confirming the configuration has been completed will be displayed.
Click the “ Continue” button to proceed.
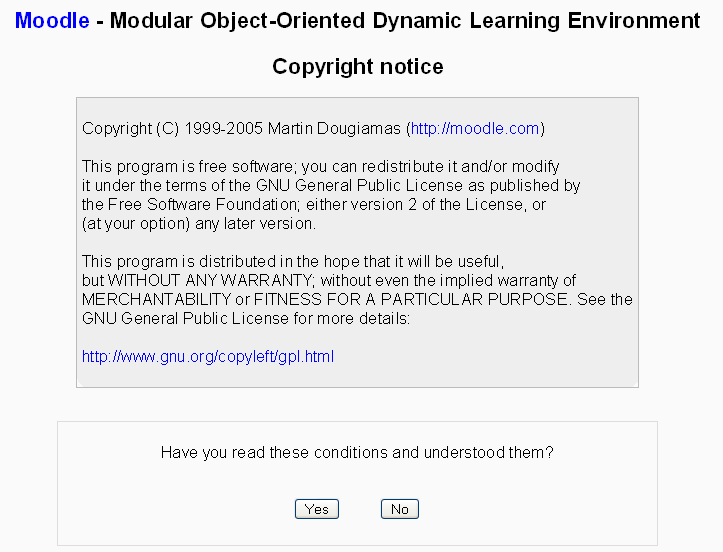
The Moodle copyright / licence notices are displayed.
Click the “Yes” button to continue, then follow the instructions on the following screens.
Troubleshooting
Skype
If XAMPP does not work when you launch your browser and you have Skype enabled it may be necessary to change the port settings in Skype.
- Locate "Options..." in Skype.
- Locate the "Connection" options.
- Remove the tick / check from the Checkbox.
- Click the "Save" button.
- You may need to re-start your computer for this to take effect.
