Picasa portfolio: Difference between revisions
From MoodleDocs
Mary Cooch (talk | contribs) mNo edit summary |
No edit summary |
||
| Line 22: | Line 22: | ||
[[File:Addedtopicasa.png]] | [[File:Addedtopicasa.png]] | ||
[[de:Picasa Portfolio]] | |||
Revision as of 14:25, 12 February 2012
Enabling the Picasa portfolio (admin settings)
- Go to Settings > Site administration > Plugins > Portfolios > Manage Portfolios;
- Select from the drop down next to Picasa "Enabled and visible";
- Click the "Settings" and if desired, give Picasa a customised name (not essential)
Sending "pushing" your images to Picasa
- You can export to Picasa images attached to forum posts or uploaded in assignments, for example.
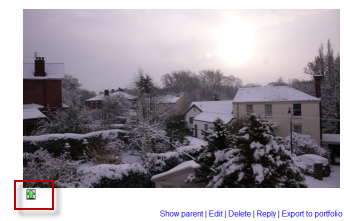
- The image will have a green icon next to it. Click this icon to export to Picasa:
- If other portfolios are enabled, choose Picasa from the dropdown menu. If not, you will only have Picasa as your option!
- If you have not logged in before you will be asked for permission to connect to Google (as Picasa and Google are connected)
- Agree and log in. The "export complete" message will appear.
- Clicking "Continue" will take you -if you wish - to Picasa, where you will see your image added.


