Managing badges
On "Manage badges" page in course or site administration, all existing badges are displayed in a table showing current badge image, name, status, criteria, how many users have already earned this badge and a set of available actions.
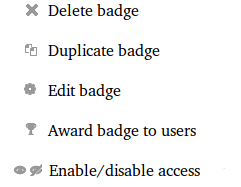
Depending on user role and permissions, the following actions are available in badge management:
Note: Availability of enable and disable access actions depends on the current status of a badge (e.g. if a badge is available to users, "disable access" icon will be shown).
Before a badge has been issued to at least one user, all its details and settings can be edited. Use "Edit badge" action icon to access badge editing options.
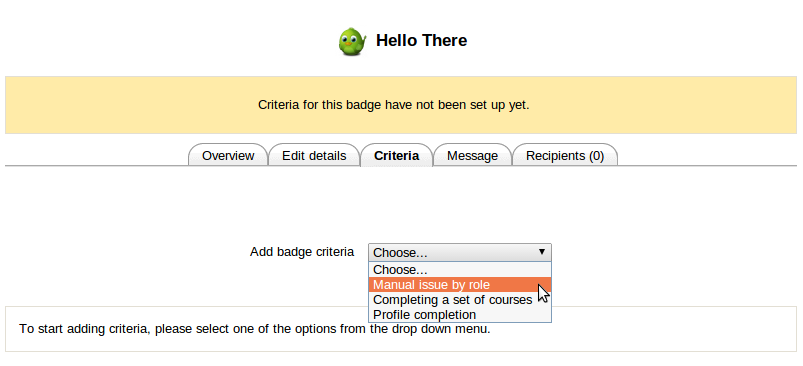
To set up badge criteria, navigate to "Criteria" tab and select a required option. Criteria are added one at a time with additional options available for each criteria.
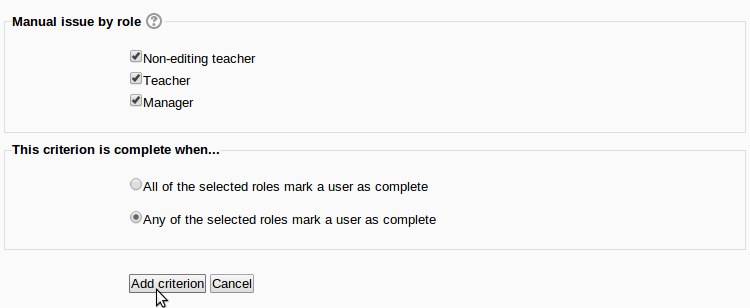
For example, when a user selects "Manual issue by a role" requirement, they will be prompted to select which roles can award the badge and what rules apply to this requirement.
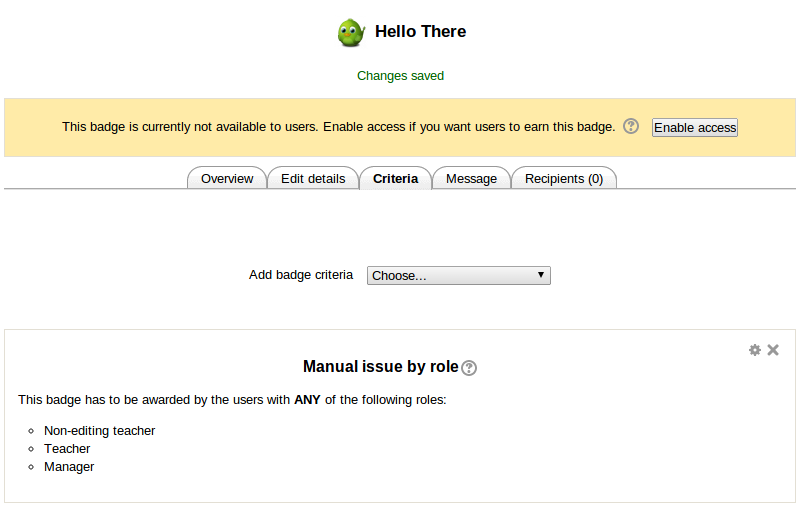
After criterion is set and added, it will be displayed among current badge criteria.
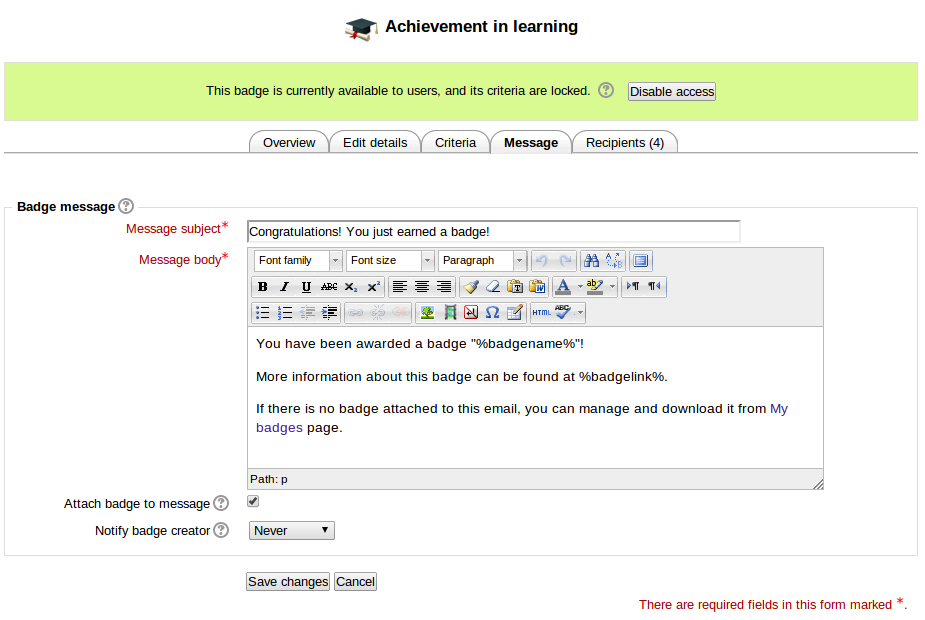
To edit a body and subject of a message which users get upon earning the badge, go to "Message" tab.
Among additional options here are "Attach badge to message" which allows adding an image file to an email and "Notify badge creator" selector which allows to set frequency of notifications sent to badge creator when this badge is issued to users.
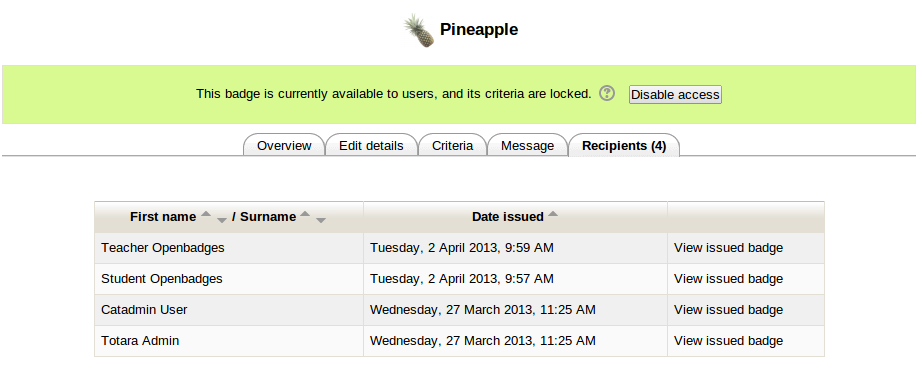
"Recipients" tab displays a list of users who have already earned this badges.

