Course Management block
Block Description
The course management block was developed to increase site administrator’s productivity and reduce peak load on Moodle servers caused by the restoring of courses. The Course management block allows Moodle site administrators to schedule restores of courses at non-peak Moodle usage times. It also allows Moodle site administrators to delete multiple courses at one time from one user interface.
Developers
Moodlerooms Inc, Michael Avelar, Sam Chaffee
Global Configuration Settings
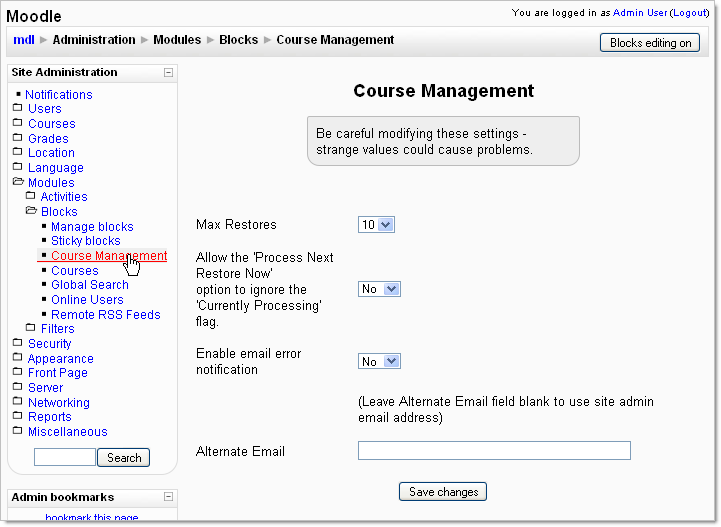
To get to this block's global setting options, at the site page, click to 'Modules'>'Blocks'>'Course Management'. This screen provides 3 options for the block:
Max Restores: The maximum number of restores a restore is allow Ignore Currently Processing Flag: Allows the cron to be forced out of turn Enable Email Notification: Site Admin (Default) or alternate contact, will receive email notifications if an error occurs.
Choose a Restore File (No Metadata file)
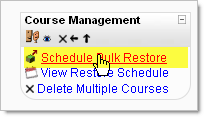
Make sure you are on the site home page, then click on the 'Schedule Bulk Restore' link to start the bulk restore scheduling process
.

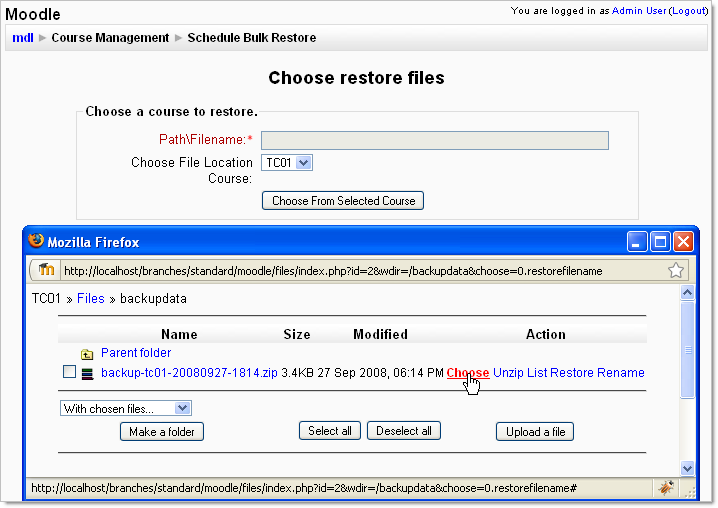
You will now see two sections: 'Choose a course to restore:' and 'Choose a course metadata file'. Only the first section has a required input field. To choose a restore zip:
- First, choose the location for the zip file. The site directory is chosen by default. If the restore zip is located in a course, choose that course's shortname from the dropdown.
- Click the 'Choose from Selected Course' button
- Navigate to the restore zip (if necessary), then click on the 'Choose' link next to the resource name.
The section here shows how to use the metadata section to help automate the next few steps. For now, we'll show how to setup the specifics manually. Click 'Continue'. There should be a brief pause, then you should see the following message:
Click 'Continue'. This next screen is the final step in the restore scheduling process.
See also


