Private files
From MoodleDocs
This page really needs improving. Please see the page comments for suggestions of what to include, then remove this template when you're done.
In Moodle, each user has a private files area for uploading and managing a set of files.
The private files area is accessible via Navigation > My home > My profile > My private files or the My private files block. If the private files repository is enabled by a site admin, it is available as a source within the filepicker when selecting files to use in a course.
Private files management
To add a file to your private files area
- On the Navigation menu, click My profile > My private files
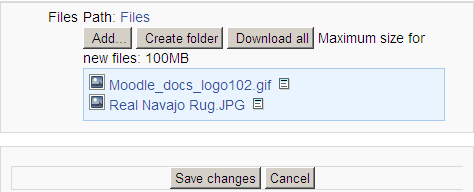
- Click "Manage my private files" button
- The standard file picker Add-Create folder popup will appear.
- If desired, create or move to a folder,
- Click on the Add button
- Browse for and select a file
- Click the 'Save changes' button
- Uploaded files may be downloaded, renamed, moved or deleted by clicking the icon next to the file. After making any changes, remember to click the 'Save changes' button.
