Read the whole story:
- Frank Ralf/Moodle forms1
- Frank Ralf/Moodle forms2 aka Frank Ralf/Semantic HTML5
- Moodle forms - A peek under the hood
Moodle forms - A peek under the hood
Inspired by this forum discussion ("Interface design input please") I dug a little deeper into the way Moodle creates and handles forms.
For the JavaScript part of that discussion see Frank Ralf/JavaScript1.
We will use some helper styles to see what's going on under the hood of Moodle forms. See Stylish for some of them.
The code
We recreate a form similar to the one in the above mentioned forum discussion. This is just a textarea field with a save button put inside a table, nothing fancy. Note that we define only the absolute minimum of parameters for the form elements.
$mform =& $this->_form;
$table_html = '
'
.''
.'Select student Comment entered Comment Student Alpha Yes ';
$mform->addElement('html', $table_html);
$mform->addElement('textarea');
$this->add_action_buttons(false);
$mform->addElement('html', '
');
Screenshots
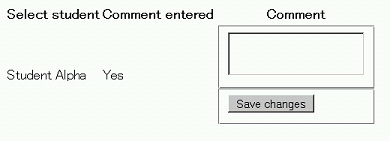
That's the way the form will look without any special CSS applied. Note that the button text is the default one provided by Moodle.
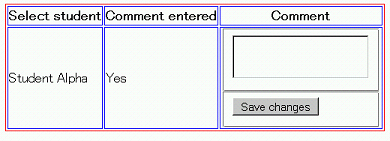
Let's add some borders to see where the table cells are:
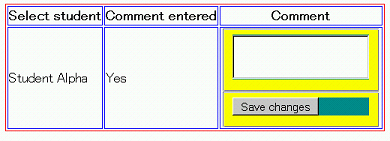
For analyzing the form we add background colors to the individual form elements:
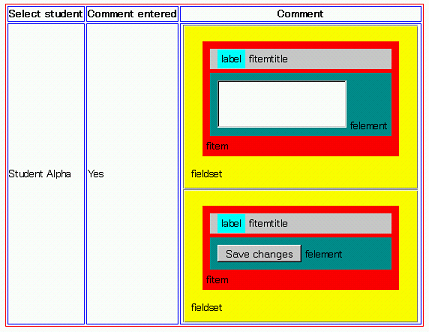
We add some padding and margins to the form elements to better see what's going on:
And to make things even clearer we finally add the names of the form elements using CSS (note that this will not work in every browser):
(Note that only applying background colors won't change the layout of the form, applying borders, margins, paddings and add content will.)


