Frank Ralf (talk | contribs) |
Frank Ralf (talk | contribs) |
||
| Line 8: | Line 8: | ||
<code php>git fetch</code> | <code php>git fetch</code> | ||
[[File:Git fetch.png | [[File:Git fetch.png]] | ||
== Maintaining your own contributed code == | == Maintaining your own contributed code == | ||
Revision as of 17:37, 18 July 2011
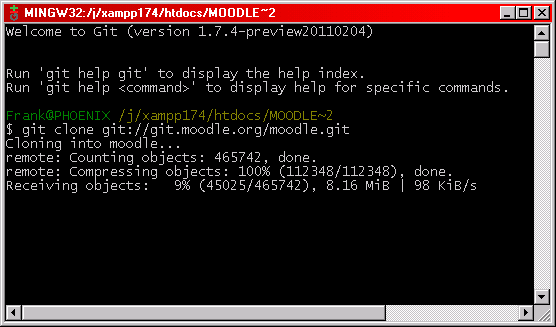
Cloning Moodle to your local installation
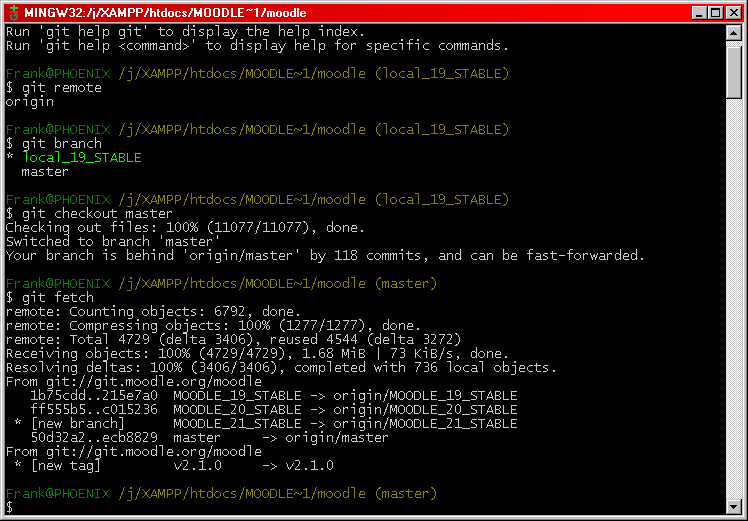
Updating your Moodle installation
git fetch
Maintaining your own contributed code
Setting up a remote repository on GitHub
See the instructions at:
Cloning the remote GitHub repository to your local Moodle installation
- Change to the parent folder for your plug-in
- Clone the repository:
git clone https://nakohdo@GitHub.com/nakohdo/moodle-filter_autolinkhijacker.git - Rename the folder to your plug-in's name
- Open Git Bash in that folder
Creating a local branch
- Open Git Bash in the plug-in folder
- Create new branch:
git branch MOODLE_19_STABLE - Change to the new branch:
git checkout MOODLE_19_STABLE- Both steps in one:
git checkout -b MOODLE_19_STABLE
- Both steps in one:
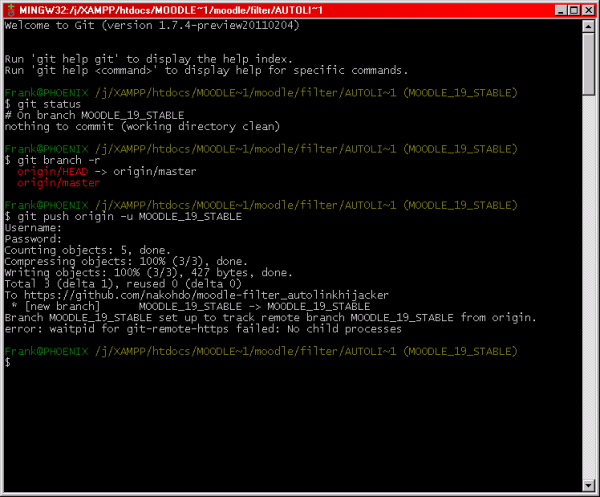
Creating a remote branch
Note: It might be better using "remote" first to create the remote branch. And usually it's best if both branches have the same name. --Frank Ralf 12:59, 18 July 2011 (WST)
- Change to the correct local branch
git push origin -u MOODLE_19_STABLE- Using different names for local and remote branch:
$ git push origin local_19_STABLE:MOODLE_19_STABLE
- Using different names for local and remote branch:
Deleting a remote branch
$ git push origin :testbranch
http://stackoverflow.com/questions/2003505/how-do-i-delete-a-git-branch-both-locally-and-in-github
See also
- Moodle forum discussions
- GIT help needed
- Best way to manage CONTRIB code with GIT
- Handy Git tip for tracking 3rd-party modules and plugins
- Moodle Git repositories
- External resources


