Frank Ralf (talk | contribs) |
Frank Ralf (talk | contribs) |
||
| Line 11: | Line 11: | ||
# Rename the folder to your plug-in's name | # Rename the folder to your plug-in's name | ||
# Open Git Bash in that folder | # Open Git Bash in that folder | ||
== Creating a local branch == | |||
# Open Git Bash in the plug-in folder | |||
# Create new branch: <code>git branch MOODLE_19_STABLE</code> | |||
# Change to the new branch: <code>git checkout MOODLE_19_STABLE</code> | |||
#* Both steps in one: <code>git checkout -b MOODLE_19_STABLE</code> | |||
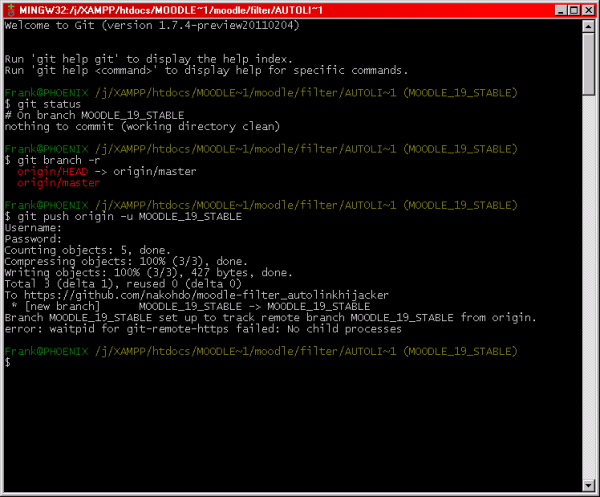
== Creating a remote branch == | == Creating a remote branch == | ||
Revision as of 20:05, 22 June 2011
Setting up a remote repository on github
See the instructions at:
Cloning the remote github repository to your local Moodle installation
- Change to the parent folder for your plug-in
- Clone the repository:
git clone https://nakohdo@github.com/nakohdo/moodle-filter_autolinkhijacker.git - Rename the folder to your plug-in's name
- Open Git Bash in that folder
Creating a local branch
- Open Git Bash in the plug-in folder
- Create new branch:
git branch MOODLE_19_STABLE - Change to the new branch:
git checkout MOODLE_19_STABLE- Both steps in one:
git checkout -b MOODLE_19_STABLE
- Both steps in one:
