How to enable web services for an external system: Difference between revisions
No edit summary |
|||
| Line 55: | Line 55: | ||
== Enable the web service authentication plugin == | == Enable the web service authentication plugin == | ||
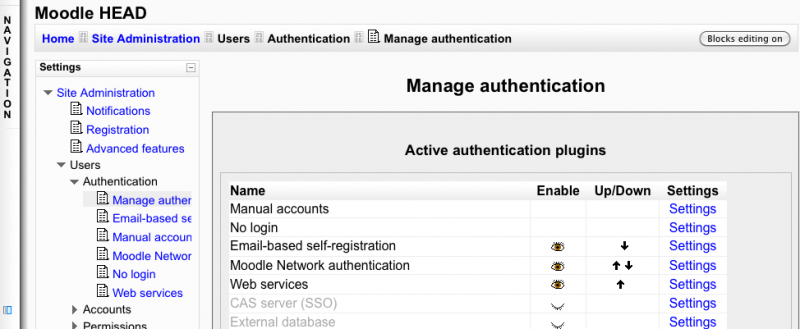
Settings block > Site Administration > | Settings block > Site Administration > Plugins > Authentication > Manage authentication<br/> | ||
Enable '''Web services''' | Enable '''Web services''' | ||
[[Image:ws_manageauth_settings.png|800px]] | [[Image:ws_manageauth_settings.png|800px]] | ||
Revision as of 23:24, 14 August 2010
Moodle 2.0
This document explains how an administrator set up a web service for an external system.
Token authentication method
There is two way for the an external service to authenticate on Moodle. Either with a security key (also call token), either with a username/password. In this chapter we explain how a Moodle administrator set up web service for an external system with a security key.
Enable the web service in Moodle
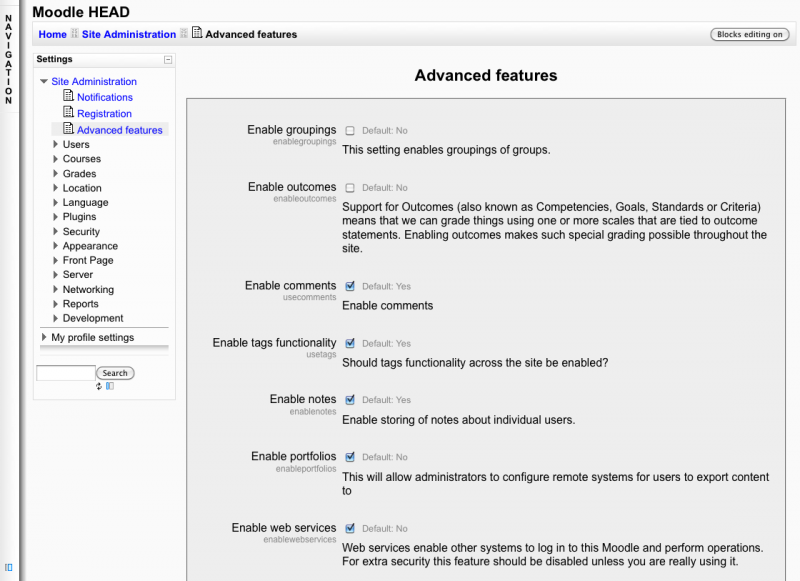
  Settings block > Site Administration > Advanced features

  Check Enable web services option and Save Changes
Enable a protocol
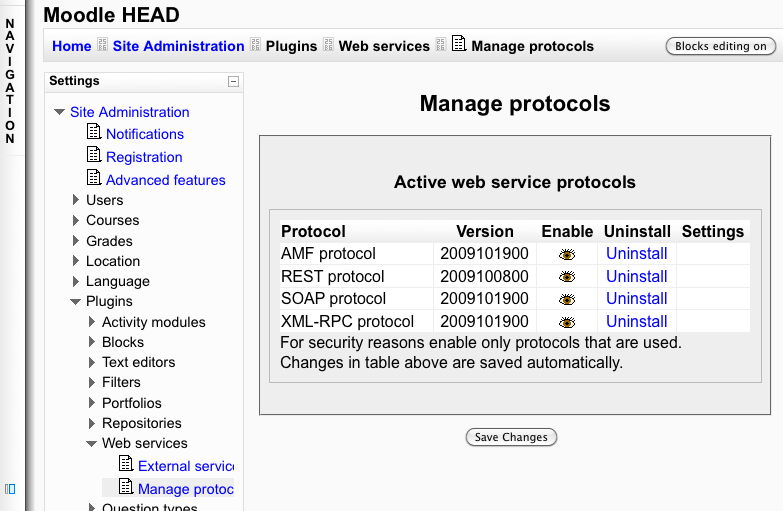
  Settings block > Site Administration > Plugins > Web services > Manage protocols

  Enable the desired protocol (SOAP, REST, XMLRPC, AMF, ...)
Create a new user
  Settings block > Site Administration > Users > Accounts > Add a new user

  Complete the other fields and select Update profil operation
Enable capabilities to specific user
for protocols
you need to set the activated protocol (webservice/rest:use, webservice/soap:use,...) capability to the specific user.
Create a service with funtions
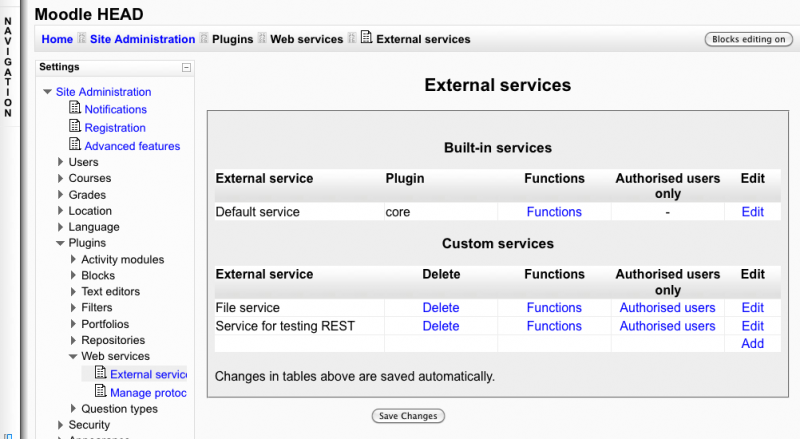
  Settings block > Site Administration > Plugins > Web services > External Services
  Click on Add new custom service
Add new custom service page
A service is a group of web service functions. By default any user using the web service authentication method will be able to call a service. To restrict a service to some user you need to select the Authorized users option.
  Enter a name, check enable
  Checked authorized users
  Click on Save changes
Select authorized user
Add a function to the service
  Settings block > Site Administration > Plugins > Web services > External Services

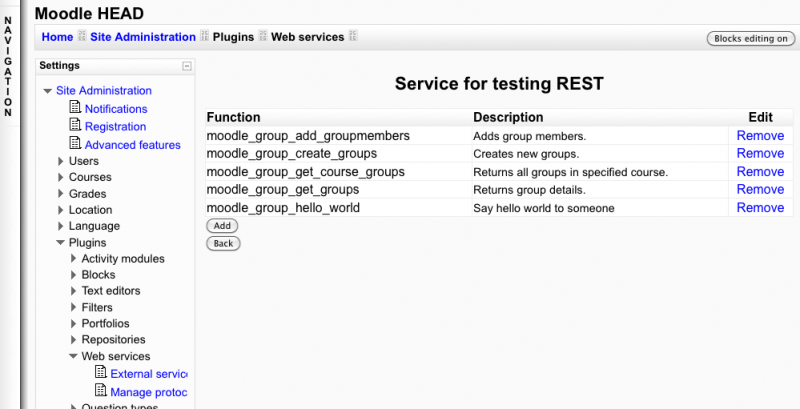
  Click on the Functions link for the newly created service
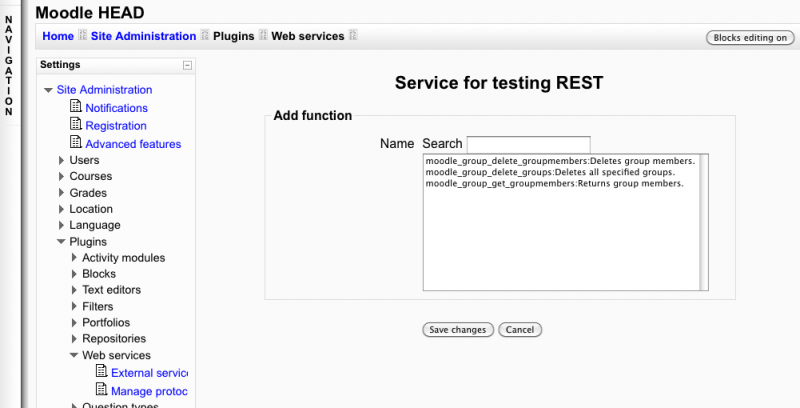
Service functions page
Select Add function operation, then select a function and Save changes
Admin create token for specific user
create a token for a user
give the token to the user
The client can connect into Moodle and see the token into his "security keys" page.
Variant: simple authentication method
This authentication method is a little different from the token one. The client send his username/password instead of a token. All steps are similar except that the administrator doesn't need to create any token and need to process the following steps:
Enable the web service authentication plugin
  Settings block > Site Administration > Plugins > Authentication > Manage authentication

  Enable Web services
Create a new user
this steps is little bit different from the one in the token authentication.
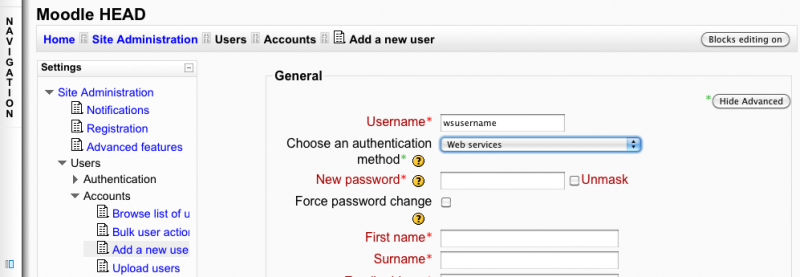
  Settings block > Site Administration > Users > Accounts > Add a new user

  Select Web services option for Choose an authentication method.
  This user will not be able to log into the site but can access web service.
  Complete the other fields and select Update profil operation
