File picker
From MoodleDocs
Moodle 2.0
This page requires updating for Moodle 2.0. Please do so and remove this template when finished.
File Picker is the standard interface that manages Moodle 2.0 file repository.
- Select an area to find the file and/or to add at file to that can then be selected
- Server files - files on the site. Files may be added and folders created in this area.
- Recent files - files Moodle thinks you have recently added
- Upload files - files and folders associated with resource or activity.
- Private files - files that belong to the user
- Use the standard add file- create folder interface
- Save selected files
Standard add file - create folder option
When the Resource of a Folder is selected in a course, in file picker, a standard pop will ask you for:
- Add (a file)- selecting this will take you to the add attachment and browse popup.
- Create a folder
- Download all files
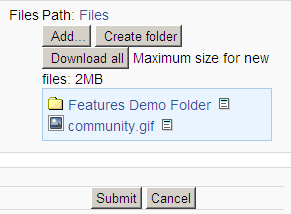 Existing files and a folder ready to be added

Standard browse to add file popup
The file picker will present a screen to select a file. For example, when "Upload file" is selected, but also when you select add an image in the HTML editor, you will see the file picker and the "Upload file" lin. The standard add a file popup will ask you:
- Attachement - Browse. This is where you find the file
- Save as - Allows changing the name of the file.
- Author - the default is the current user
- Choose license- a pull down menu with different licenses to select.
